If you’ve ever seen a motivational poster or played on a sports team as a child, you’re likely familiar with the phrase “the only thing between ‘ordinary’ and ‘extraordinary’ is that little ‘extra.’” Turns out that’s also kinda true for your photos—although we know they’re never really “ordinary.” But before you add those extra touches, like lustrous one-click effects, mood-altering textures, or inviting text and graphics, there’s a short list of basic edits you should take care of. These four edits are your photo editing work horses: they’re the absolute must-have adjustments that’ll get your image ready for adorning. Or keep its unadorned purity on point!
1. Crop

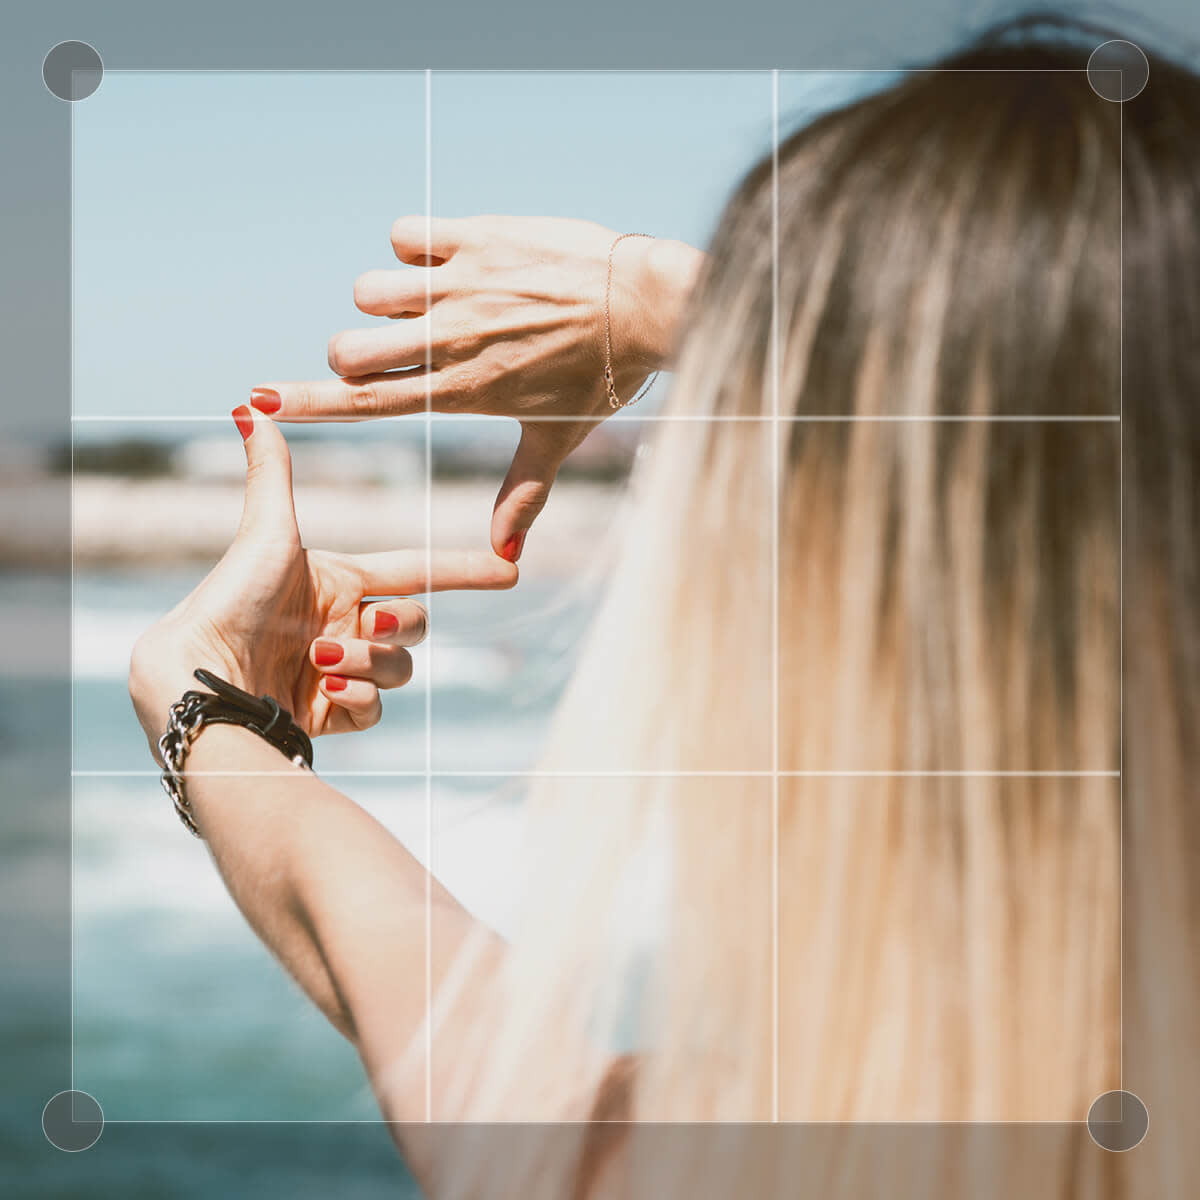
Yes yes, we know, cropping doesn’t have the glitz and glamour of fancier photo edits, but this OG photo helper deserves mad respect for all of the ways it can improve your photos in a matter of seconds. Cropping can improve allover composition, remove distracting elements, change your photo’s orientation, and put greater focus on your subject, to name a few. Find Crop at the tip top of the Basic Edits tab, and drag the corner handles of the grid to crop your image. Or if you need specific dimensions—say, 5×7 for framing—choose one of the presets in the dropdown menu.
2. Saturation

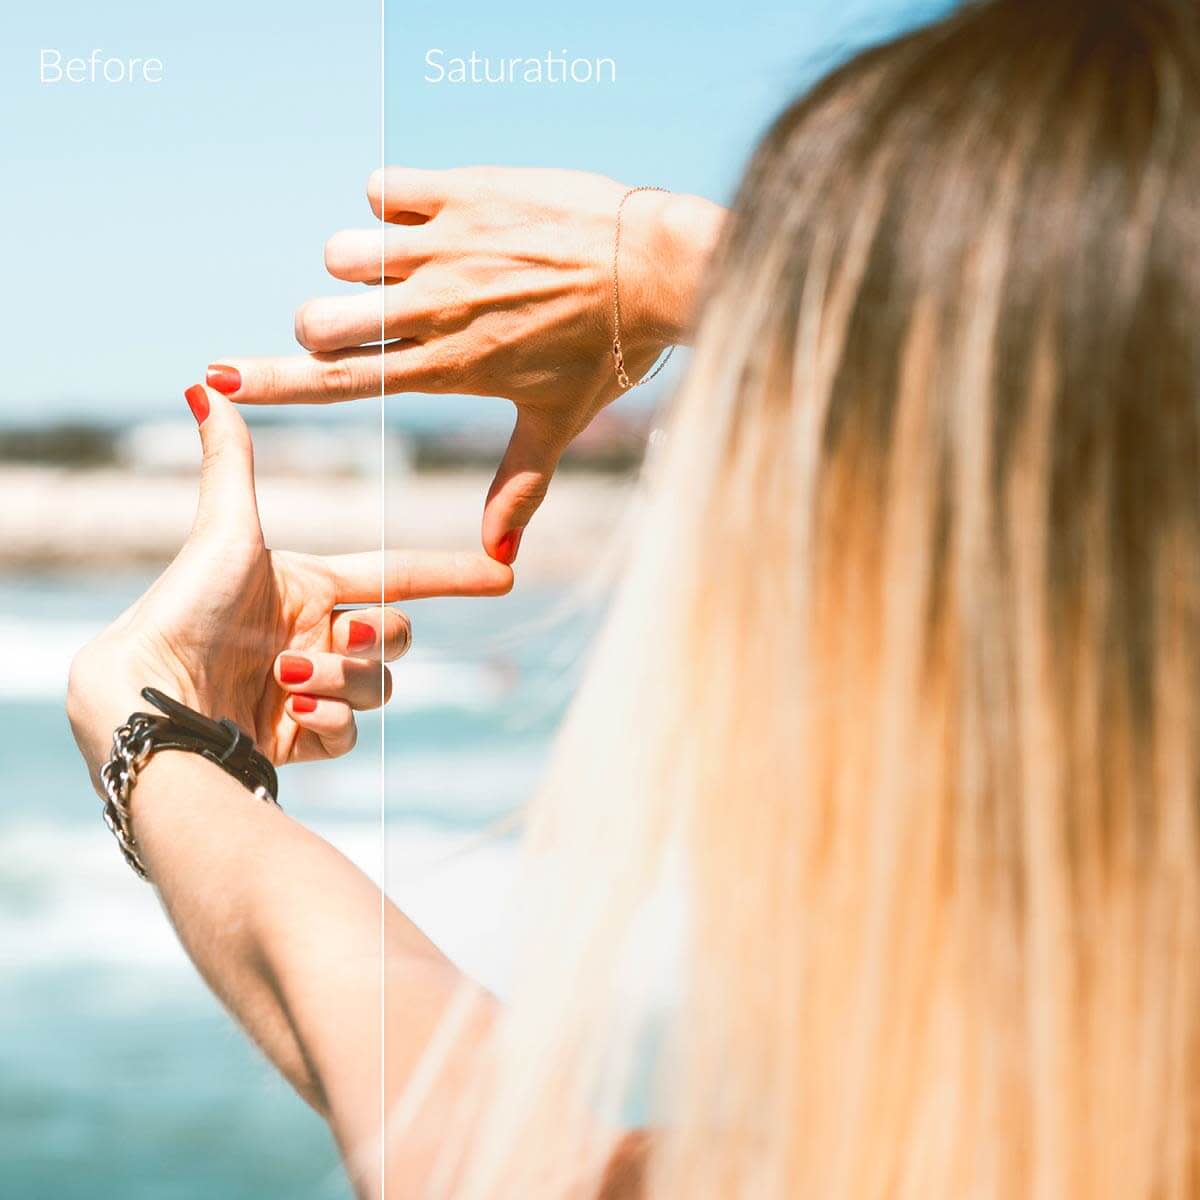
Maybe the grass is always greener on the other side because there’s some photo editing genius over there who knows about color saturation. Saturation gives vibrant colors a little extra oomph, but the key is to already have some color to play with (sorry, black and white images, this ain’t for you). Use the Saturation slider in Colors, located in the Basic Edits tab, to see the difference it can make.
3. Contrast

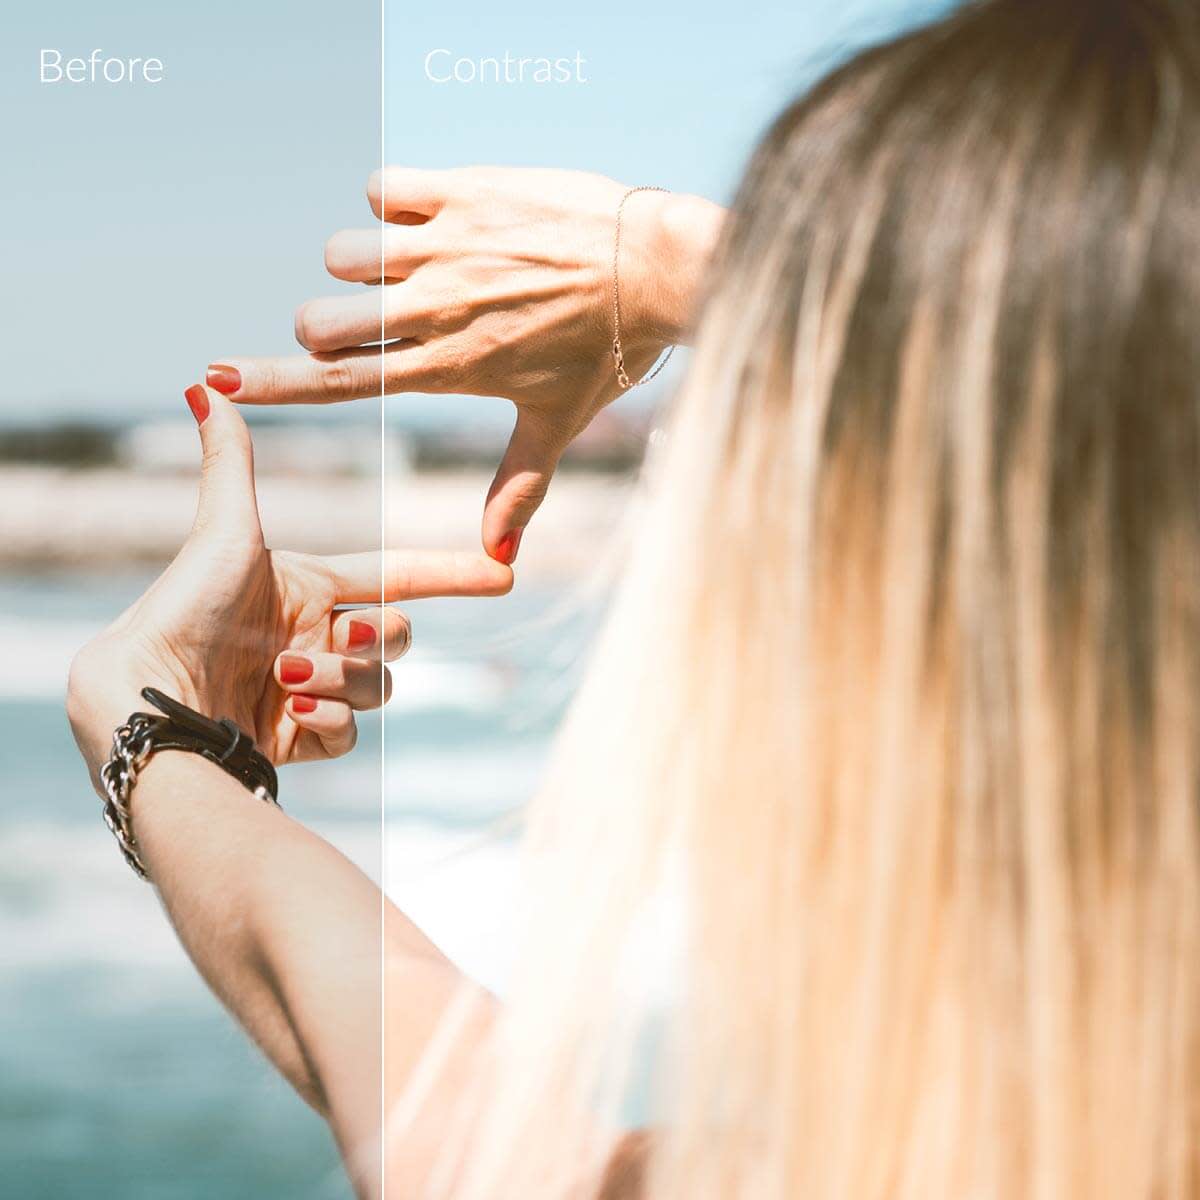
Contrast is the difference between light and dark in your image. A high contrast image has bright highlights and dark shadows, whereas a low contrast image has less of a difference between its lightest and darkest elements. Making a small adjustment to the contrast in your photos can add a little razzle dazzle—try it out with the Contrast slider in Exposure, located in the Basic Edits tab.
4. Sharpen

Images can look a little blurry or soft for a couple reasons: camera shake or poor focusing. Sure, you can’t 100 percent fix blur and softness, but you can get darn close. Find Sharpen in the Basic Edits tab, and move that Sharpen slider to beautify your slightly soft image. If you’re battling some serious blurring, get artsy with a filter.
Tip: Do your sharpening after you’ve made all your other edits to your image.
