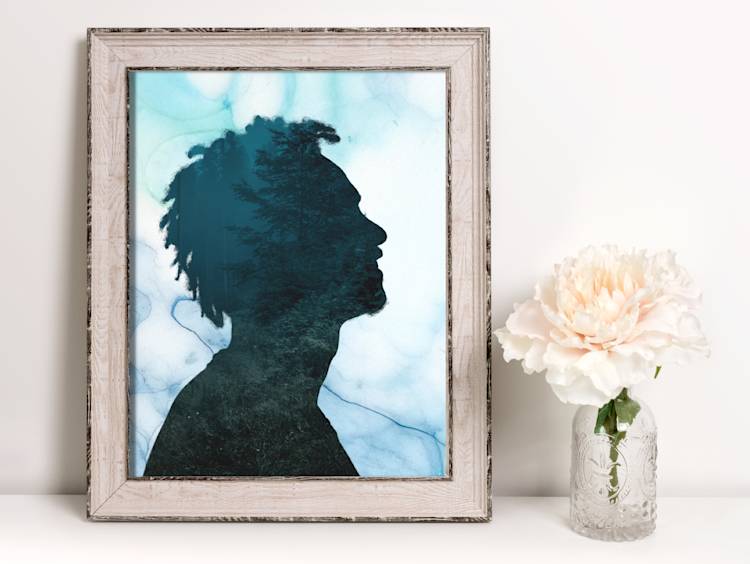
Before the advent of photography, sillhouettes were a democratizing force in portraiture because they could be cheaply made with a pair of scissors and dark paper, and didn't require the masterly skills of an oil painter. Score one for the hoi polloi!
In this tutorial we're going to show you how to make a digital silhouette that opens up a world of creative possibilities by filling in the portrait shape with another photo—and we have amaazing photos for you to choose from. Believe: this is amazingly easy to do with the use of our clickety-fast background eraser tool. If all you get from this tutorial is how ridiculously easy it is to cut a subject from a photo background, you're well on your way to your next masterpiece.
Start with profile photo of your subject
It's usually best to pose your photo subject in profile, because the unique features of a silhouetted face are often most recognizable from the side. Your subject doesn't have to be placed against a spectacularly clean background, like a plain wall, because PicMonkey's background eraser is going to do all the tedious cutting work for you and it knows how to find the photo subject.
Cut out your photo subject with background remover
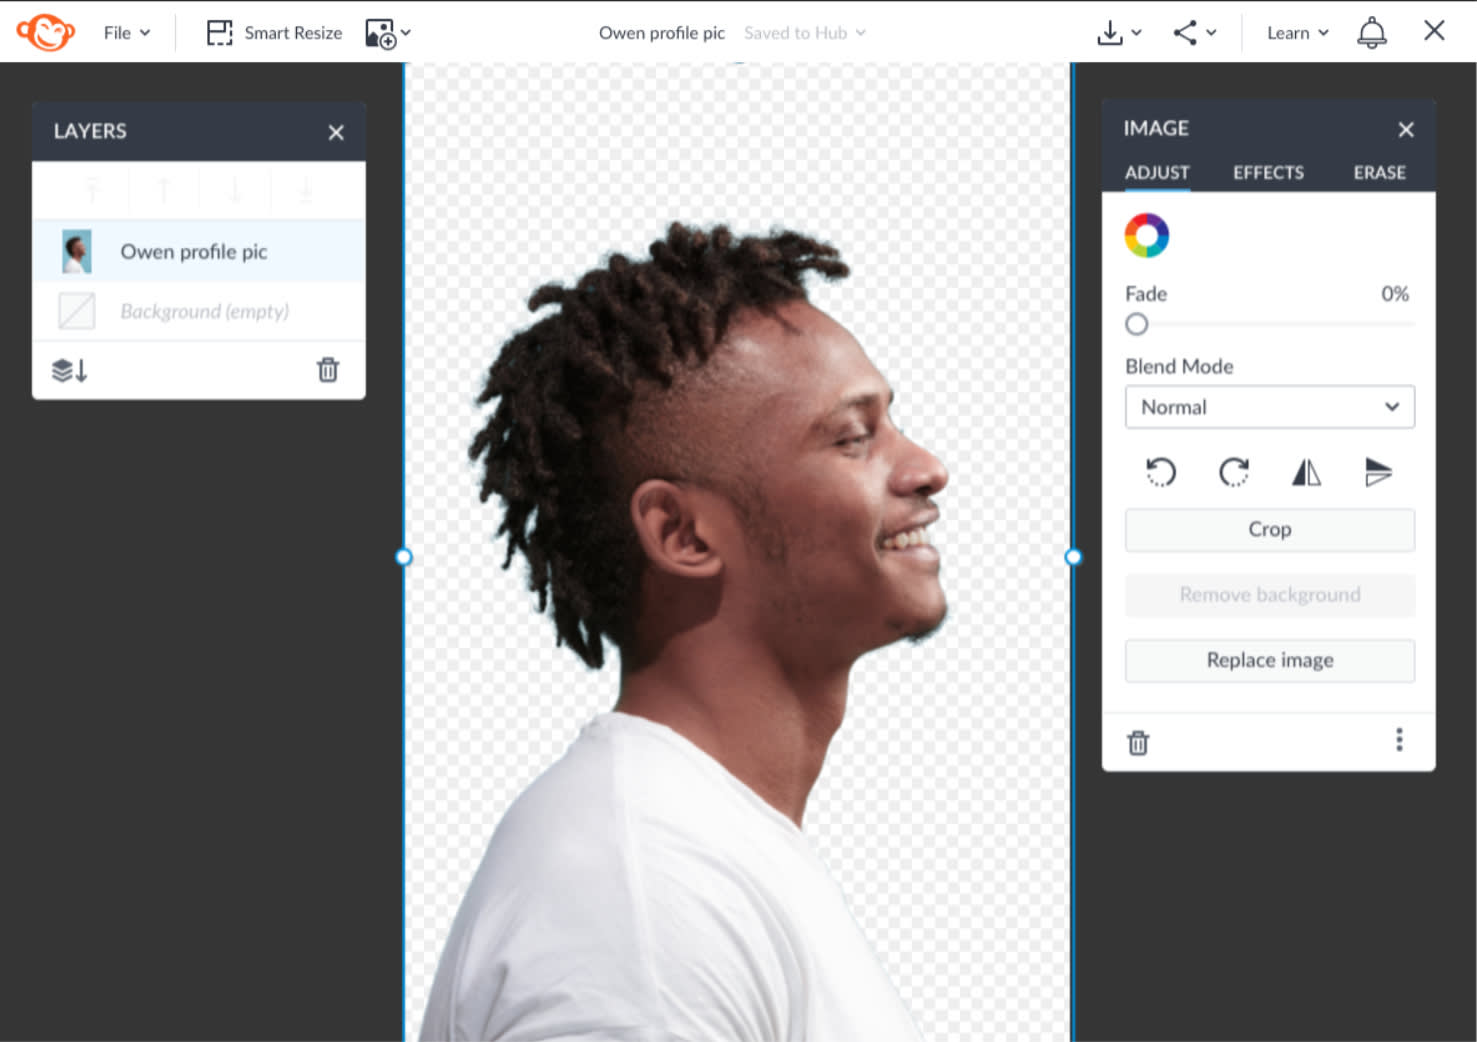
From the PicMonkey homepage, click Create new and open your image.
In the Layers palette, click Convert to layer to make your photo its own layer. Select your photo layer.
In the Image palette that opens up, click Remove background.
Now your photo subject is isolated against a transparent background (the checkers indicate transparency).
Darken your photo subject with exposure controls
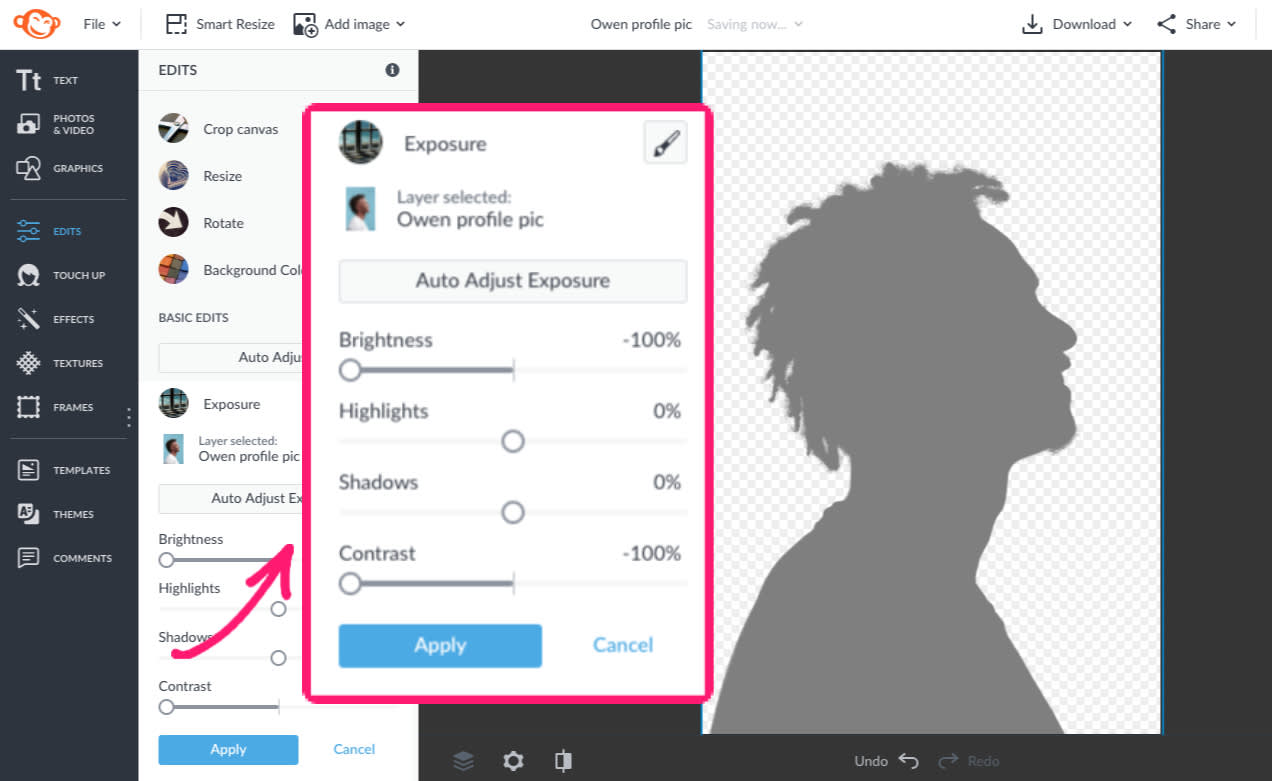
In the left panel, click Exposure, and move the Contrast and Brightness sliders as low as they'll go. Click Apply.
Now you have a darkened silhouette against a transparent background. On to the creative part...
Add a photo inside the silhouette
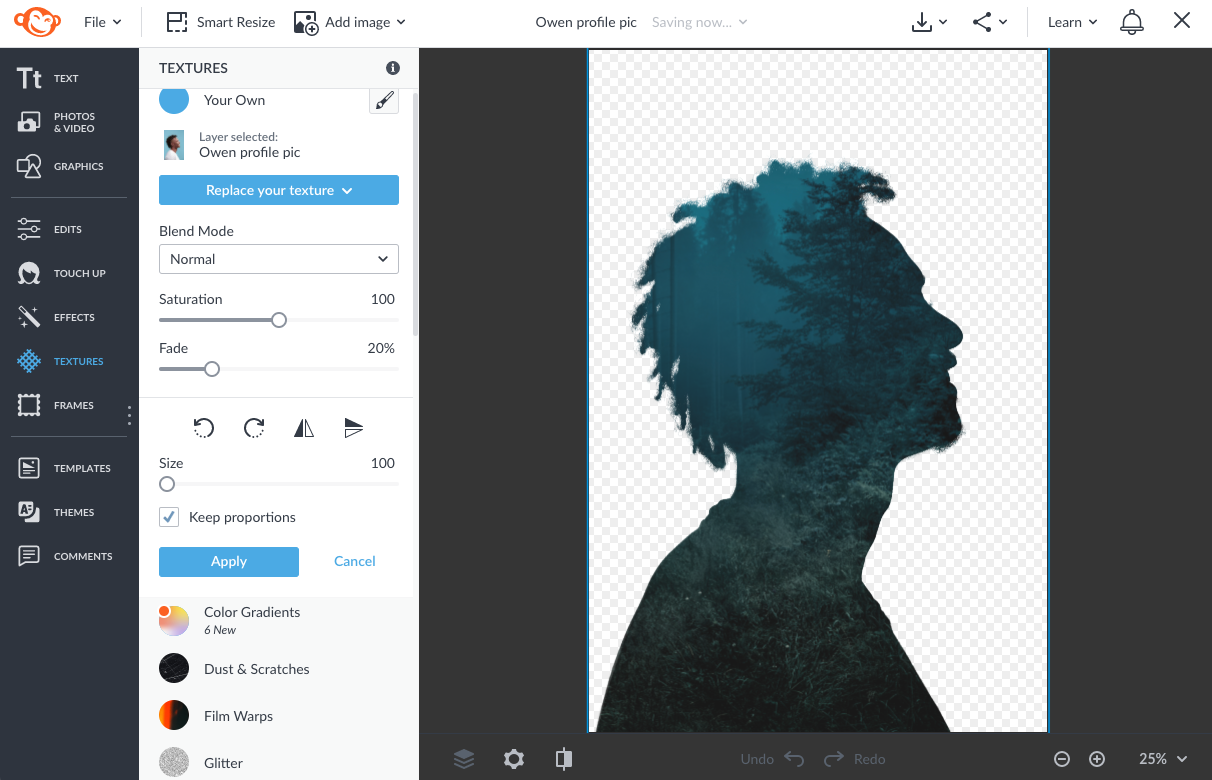
Make sure your photo layer is selected in your Layers palette. You're going to add an image as a texture to the transparent areas of that layer.
Click the Textures tab in the blue column on the left.
Click the Add your own texture button atop the panel and choose a stock photo or your own photo. Click Add texture—it takes a second or two.
When you see your photo inside the silhouette, you can mouse-down and drag the photo around to adjust its placement.
In the Textures controls on the left, click Apply when you like what you've got.
Your silhouette now has a photo masked inside its boundaries. You can share it like it is, but let's do something nifty with the background to make it printably cool.
Add a creative background
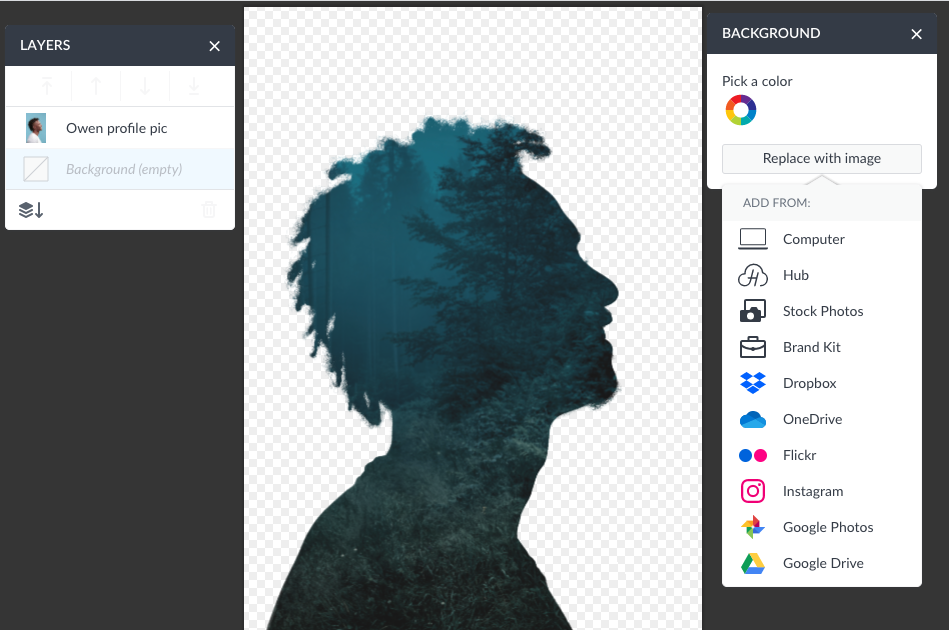
Select the layer labeled "Background" in the Layers palette.
In the Background palette that opens on the side, choose Pick a color or Replace with image, and choose a photo of your own, or a stock photo that's got the vibe you're looking for.
Be patient—sometimes loading the image takes a sec.
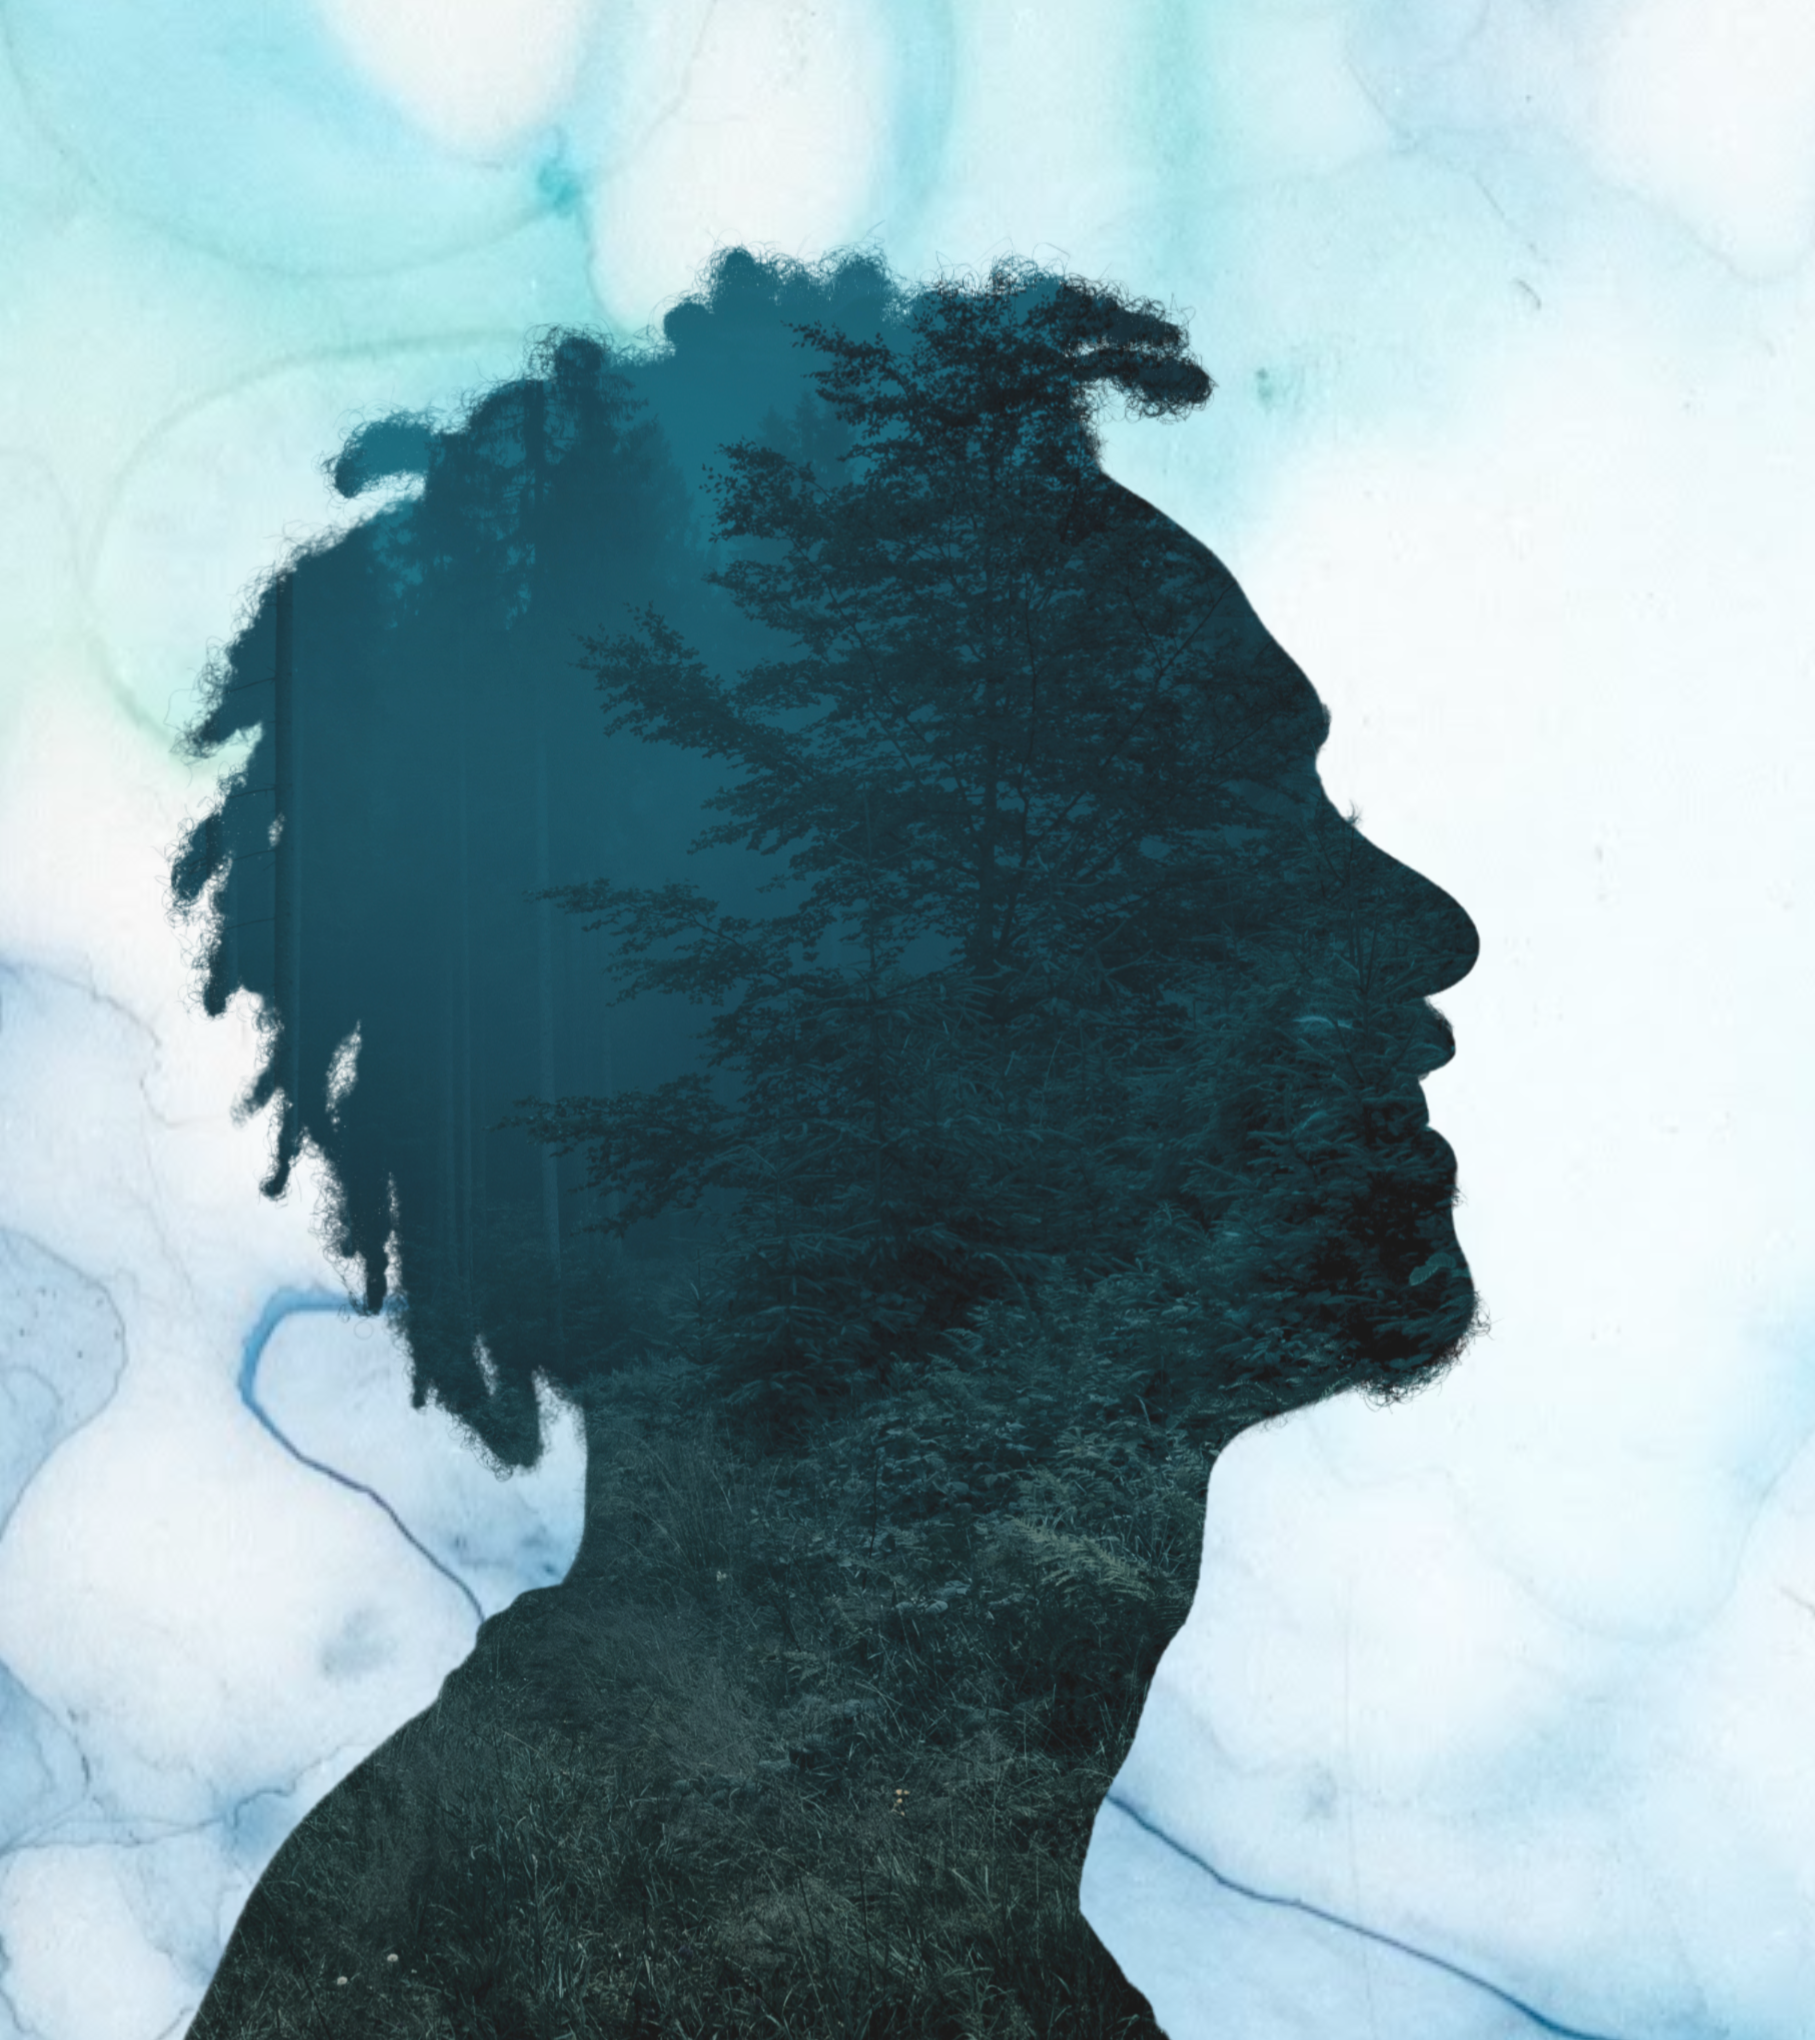
Now that's what we're talkin' about!
Tips for various looks
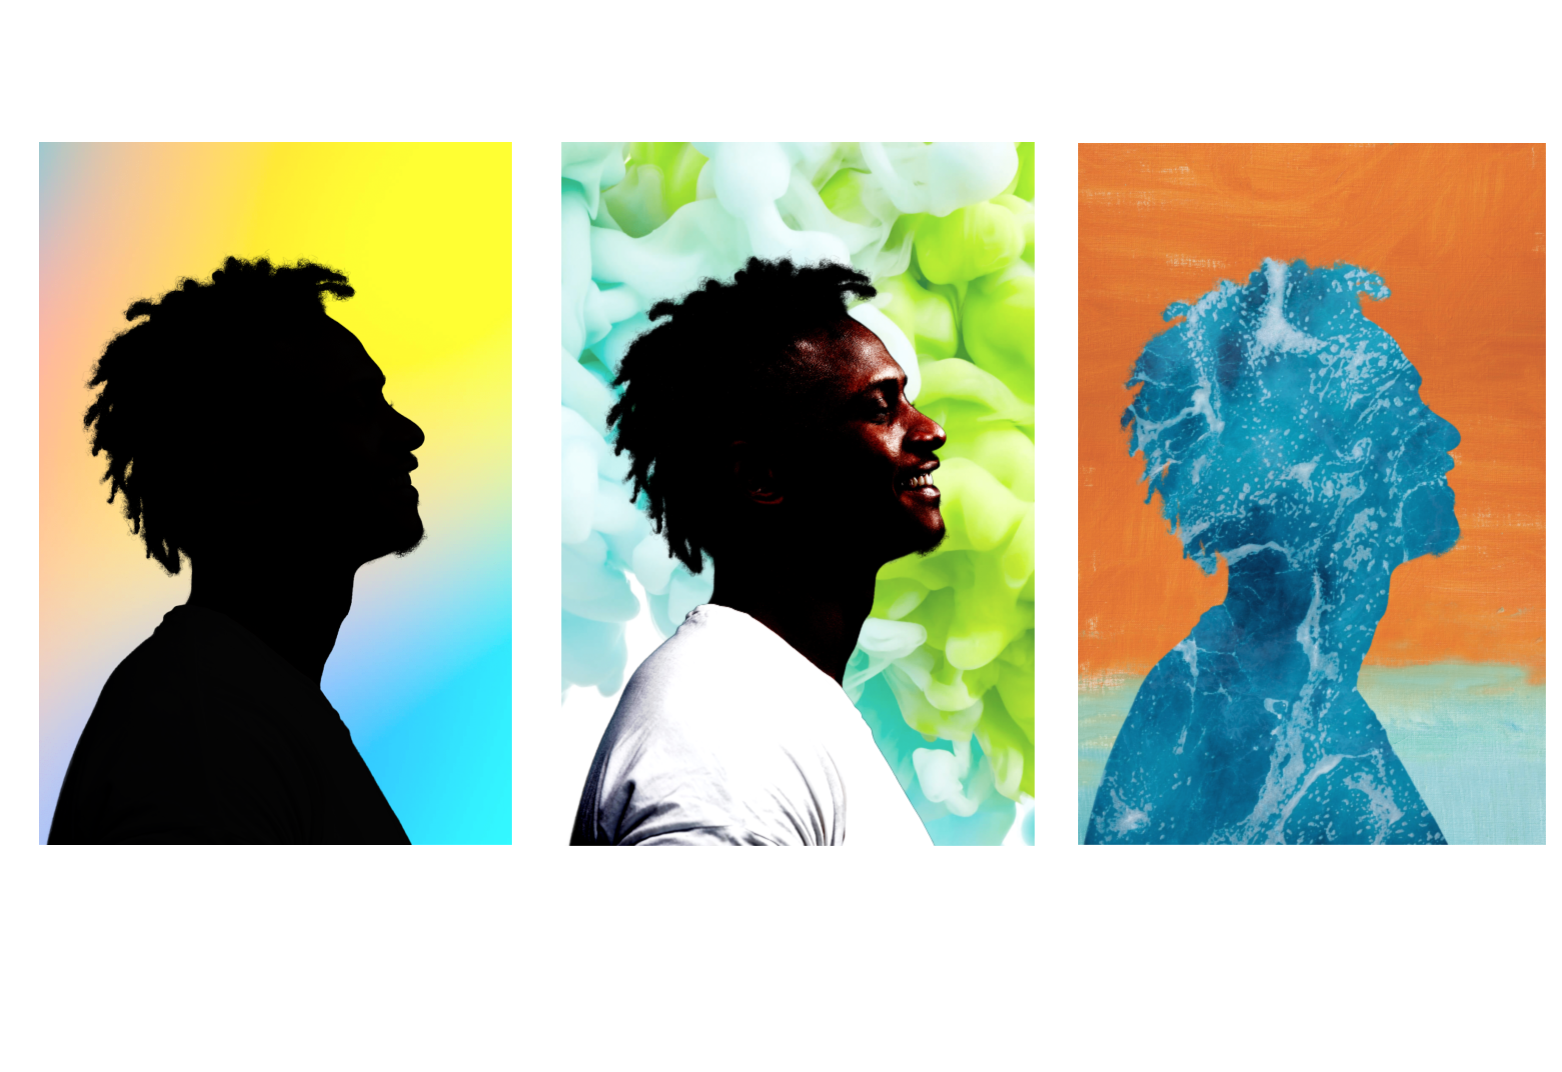
If you find that the photo you're adding inside the silhouette looks a little washed out when you add it, take an extra step to make that silhouette totally black instead of dark grey. Here's how: when you are using Exposure to darken your silhouette, turn the Contrast slider down to zero first, and click Apply. Then click Exposure a second time and turn down the Brightness slider to zero and click Apply.
Add a PicMonkey photo texture to your background! To do so, first add a color to your background (white), and then click the Textures tab. Those Color Gradients are gorgeous, and so is Cloudy Ink, and, and—you need to check 'em all out.
You might just like the iconic silhouette that's pure black with a cool background. Classic gone modern—go for it.
After you've gotten the look you like, your beautiful silhouette can toddle off to the printer and you can get ready to be thanked and adored by the person you made it for.
