Uninspiring skies can make your otherwise stunning photos look bland. Add some “pow!” to the sky background in your pictures with these shooting and editing tips using PicMonkey's tools.
Find the right sky

The first way to get a great looking sky is to photograph the best part of it — meaning the areas with the richest color, right lighting, and perhaps some interesting clouds. Side lighting is typically a good choice, so turn 90 degrees from the sun. If it’s overcast or just not colorful, like this picture, you can still make a great photo with a few editing tricks.
Pump up the color in the photo

Adjusting the color temperature by pumping up warm reds and yellows or adding cooler blue and green will change the overall feel of your photo. Slide up the saturation to make the color richer. Here's how to do this in PicMonkey.
Editing photo color and saturation
Open your photo in PicMonkey.
From the Basic Edits tab, click Colors. This is a photo of a sunset, so it should be warm and colorful.
Adjust the Temperature slider to warm the entire picture, and up the saturation a little with the Saturation slider. Aim for a pastel hue similar to a cantaloupe, not a bright orange.
Click Apply.
Learn more about colors: The PicMonkey Guide to Color
Use Burn for deepening photo hues

You'll find the Burn tool in the Advanced edits group accessible from the Edits tab. Burn is used to darken specific areas.
Start with Mid and a very large brush, and slightly darken the palest areas of the sky that don’t have any clouds.
Focus on the top, where the sky should naturally be darker.
Go easy and use a light hand.
If you make a spot a little too dark, click the Eraser to get rid of some of the effect.
Click Apply.
Use Dodge for lightening an area

The Dodge tool is also located in the Advanced edits group. You can think of it as the opposite of Burn. low is dark, high is light, mid is midtones
Dodge is for lightening an area, so in this case, Low applies the least amount of the effect; High would paint more brightly.
Gently lighten the darkest areas in the clouds.
You’ll apply color to those areas in the next step, and lightening them now will make the color easier to see.
When you’re done, click Apply again.
Tint to perfection
From the Effects tab on the left, find the Tint effect under the Paintbox group. The side of the clouds away from the setting sun should be a cooler color (more blue and purple) than the side toward the sun. We’ll use the Tint effect to enhance the dark side of the clouds, which you just lightened above, by painting on some gentle purple or pink.

Choose a pink or purple color from the Color picker. You can change it later, so don’t stress about the exact shade right now.
From the Blend mode drop-down, choose Multiply from the options.
The Fade slider adjusts how thickly the color will be applied, so crank it up high, around 80%, so that the effect is not very strong. You’ll adjust this later, too.
Click the paintbrush icon on the Erase & Brush palette. Use the sliders on the palette to make the brush size large, the brush hardness zero, and the brush strength around 25. Then check the Reverse Effect box.
Now you’ll paint the color onto the clouds. The low brush strength allows you to build up the color with several strokes, and avoid applying it too thickly.
After you paint in the color in the light spots, you can adjust the Fade slider for the right intensity, and adjust the Color picker to find the right tint.
As you practice, you’ll get a feel for the right intensity.
Click Apply.
Make the sky glow

Now do the same thing again, but this time, add a warmer color to the light side of the clouds. This is the side that should be glowing in the setting sun. Use the same settings as above, but choose a warmer red with some orange in it. This is what it looks like with the Fade at zero. Adjusting the slider this way enables you to see exactly where you’ve painted on your effect. Once you’ve painted on the brighter and darker areas of your clouds, click Apply.
With a cool tone on the dark side and a warm tone on the bright side of your clouds, you’ve added a gentle color contrast that makes the sky much more intriguing. There’s just one more tip you should use to make the most of the sky in your photos.
Crop your photo for optimal sky pop

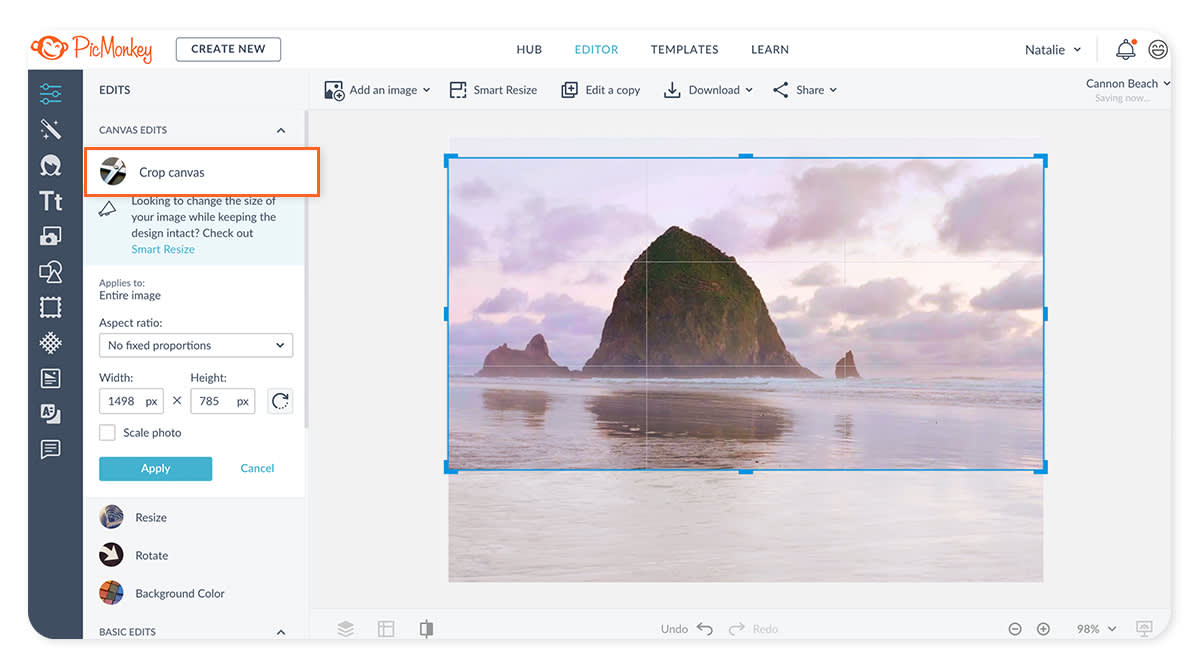
Cropping is an easy way to up the impact of your photos. In this picture, the upper part of the sky is empty and not adding power to the photo, and the foreground is a bit too deep as well. Use the Crop tool (in the Basic Edits tab) to put the horizon on the lower third of the photo, and eliminate the empty sky. The sky is a spice that adds flavor to this picture, but the rock is the subject. Make sure the sky complements the subject, and doesn’t overwhelm it. Once you’re satisfied with your photo, click Apply.
The next time you’re watching a sunset, pay attention to how the colors grade into one another and which colors are where. You’ll be surprised at the colors you see, and especially at their placement. Use your observations to paint on color that brings out the best in your sky photos. Apply the right effects and a good crop, and you can transform a dull photo into something spectacular.

