One of the easiest and most effective ways to transform a photograph is by applying a texture. With this versatile feature, you can add beams and bubbles of light, age a face or object hundreds of years, create a sense of depth and dimension, and so much more. Not only does PicMonkey have hundreds of textures for you to use on your pics, we give you the tools you need to manipulate and adjust them so you get exactly the look you want.
How to add a texture to your photo
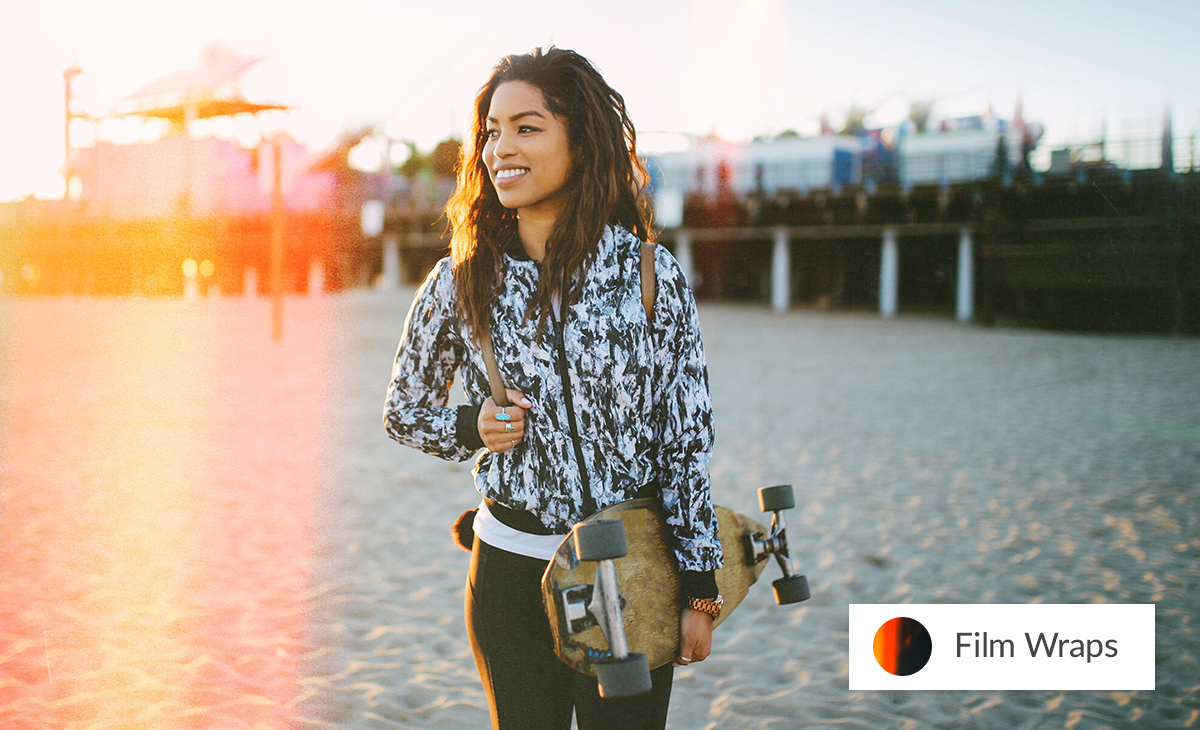
Go to the editor and upload an image.
Click the Textures tab and choose a texture from the menu.
Select the version of the texture you want and it will appear on your image.
Select an option from the Blend Mode menu to adjust the look.
Use the Saturation, Fade, and Size sliders to adjust the texture’s colors, strength, and size.
Click the paintbrush icon to access the Erase & Brush palette to selectively apply or erase the texture.
Make your photos look antique or weathered
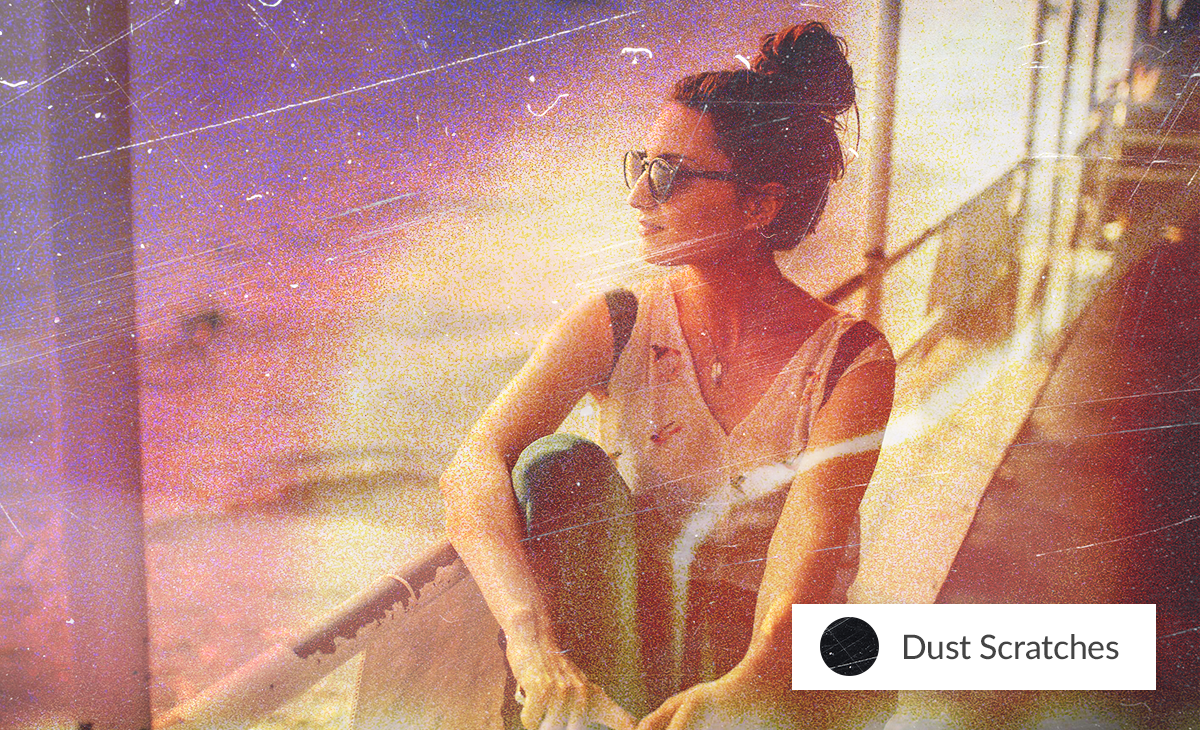
Editing photos so they have a vintage feel is a major trend. With textures, you can make your pics look like they’ve been taken with an instamatic camera circa 1972 or an antique field camera from the Wild West days. Textures such as Paper, Textile, Boards, and Edifice or great for aging your photos centuries or just a few decades. If you want to stay in the present day and just give your pic a beat-up or weathered look, Dust & Scratches, Metal, and Smudge work particularly well.
Achieve an otherworldly effect
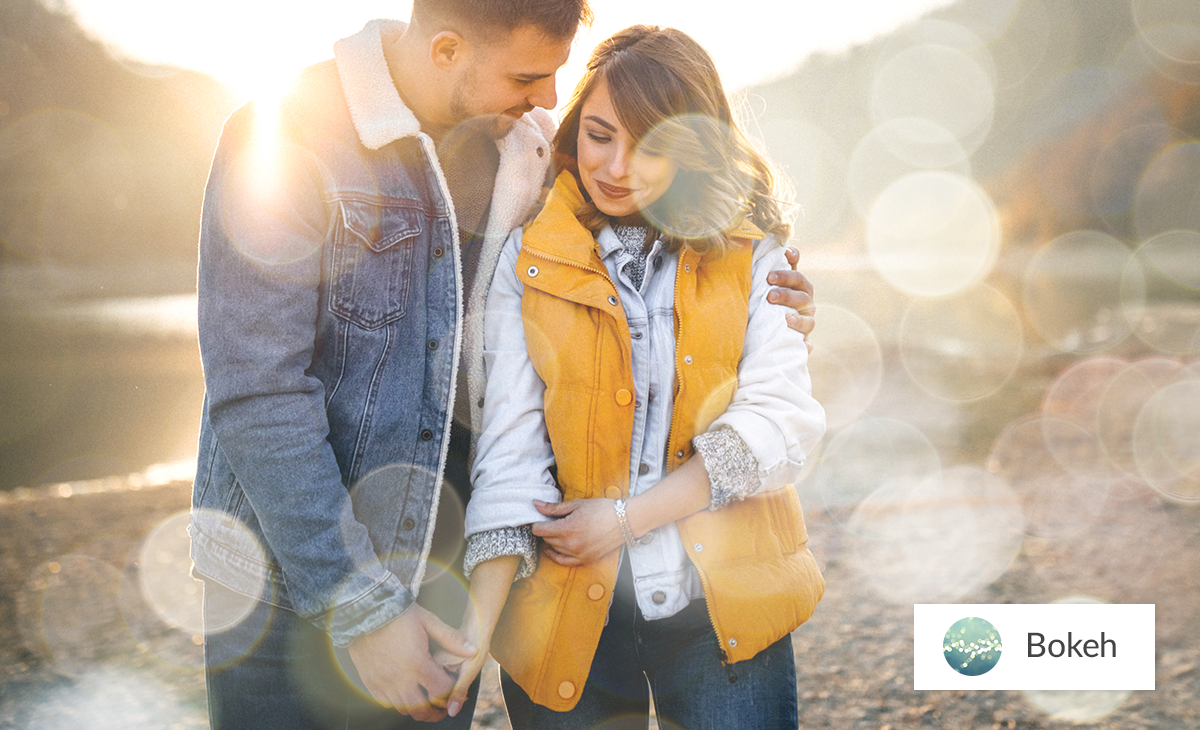
Textures are an excellent way to add bursts of light, shimmering backgrounds, and even intergalactic effects to a photo. Burst and Light Trails offer rays of light in a variety of colors, shapes, and sizes. The ever popular Bokeh texture will add blurred balls of soft or bright color to your background, making it look like your subjects are soaking in a warm bubble bath of light. With the Space texture, you can plunge people into the stratosphere, floating among the stars and planets.
Give photos a tactile, three-dimensional look

Textures got their name because they create the illusion of touchability, as if you could reach out and actually feel their bumpy, course, smooth, or scratchy surfaces. If you want your images to practically jump off the page or screen, try using a Textile, Wood, or Paint texture. Ice gives the feeling of being trapped in a chilly car encased in snow or sleet. Foil depicts the undulating shadow and light of a crumpled sheet of metal.
Use advanced texture adjustment features
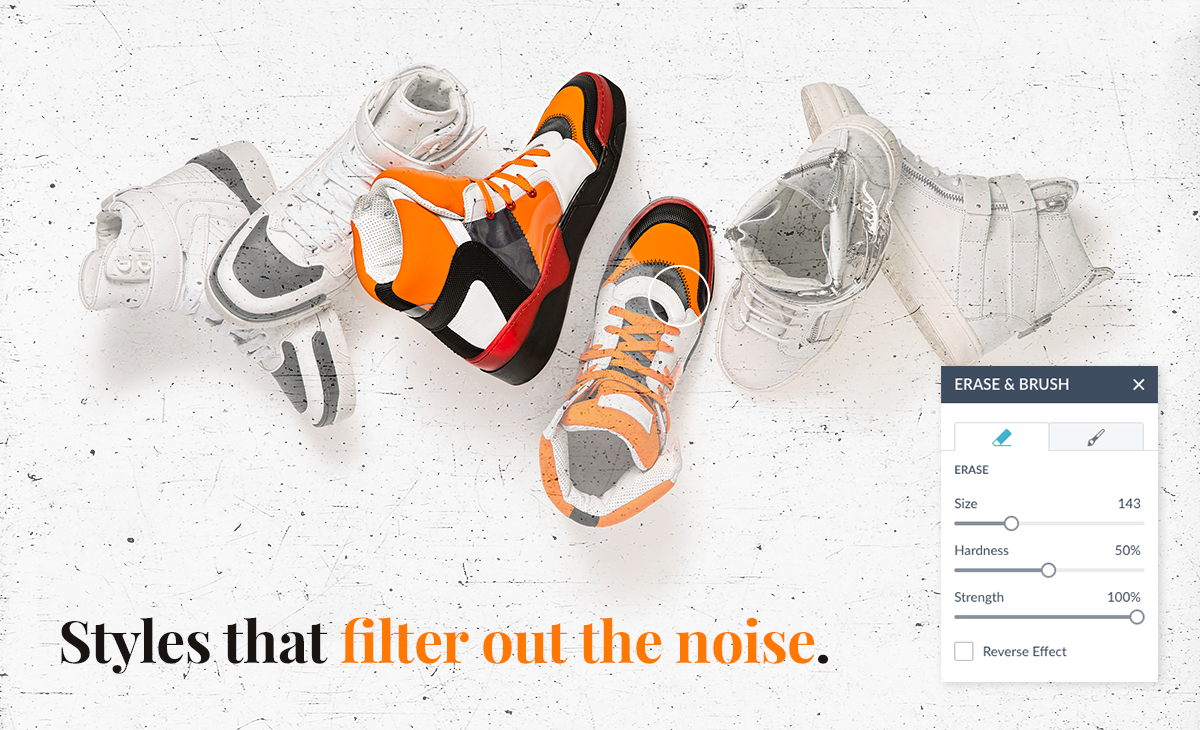
When you apply a texture to a photo, you’ll have the power to play around with it and adjust your image according to your particular vision. For example, when you select Foil, you’ll be able to choose from 21 different versions of the texture. You can then go to the Blend Mode dropdown menu and choose from a variety of options that will modify your texture further, such as darkening, lightening, and switching up the colors. The Saturation and Fade sliders allow you to control how strong the texture is applied, while the Size slider will change its proportionality.
Click the paintbrush icon to the right of your texture’s name and you’ll have access to the Erase & Brush palette. Here you can use a brush of whatever size you choose to brush on the texture in certain places. Use the eraser if you want to remove the texture from a part of your image. The Hardness and Strength sliders will help you adjust the softness of the edges and how much of the texture is applied or removed.
Add your own texture
If you’re not able to find just the right texture to meet your needs, you also have the option of adding a texture of your own. Just click the Add your own texture button at the top of the Textures menu and you’ll be able to upload a custom texture from a variety of sources. You can search our Stock Photos selection for a texture, peruse the web for paid or free textures, or photograph one of your own. Bottom line: the fluffy clouded sky’s the limit!
