No matter how you feel about the horror that comes out of Stephen King's mind, the man was on to something: clowns are terrifying. Kinda like dolls. Demons. Witches. Still, no matter the spookiness, there's nothing quite like scary clown pics. That's why we're going to show you how to easily take a beautiful photo of your own and transform it into something akin to Pennywise himself. What you choose to do with this picture? Well — that's on you!
1. Open your image in PicMonkey

Get started on your scary clown pic in PicMonkey.
Open a nice, normal looking photo of yourself or one of your friends in PicMonkey. When you're in the Editor, just click Create new, then choose where to upload your file from. Good pictures to use have the subject looking at the camera, giving you easy access to all the different parts of their face.
Alternatively, you can choose to ruin a random person's hopes and dreams (like we did in our example), using a photography from our massive stock photography collection (thanks, Shutterstock!).
Once you have your photo open, click Themes on the top toolbar. We'll be using several different Halloween themes in order to make a scary clown pic.
2. Apply the base makeup
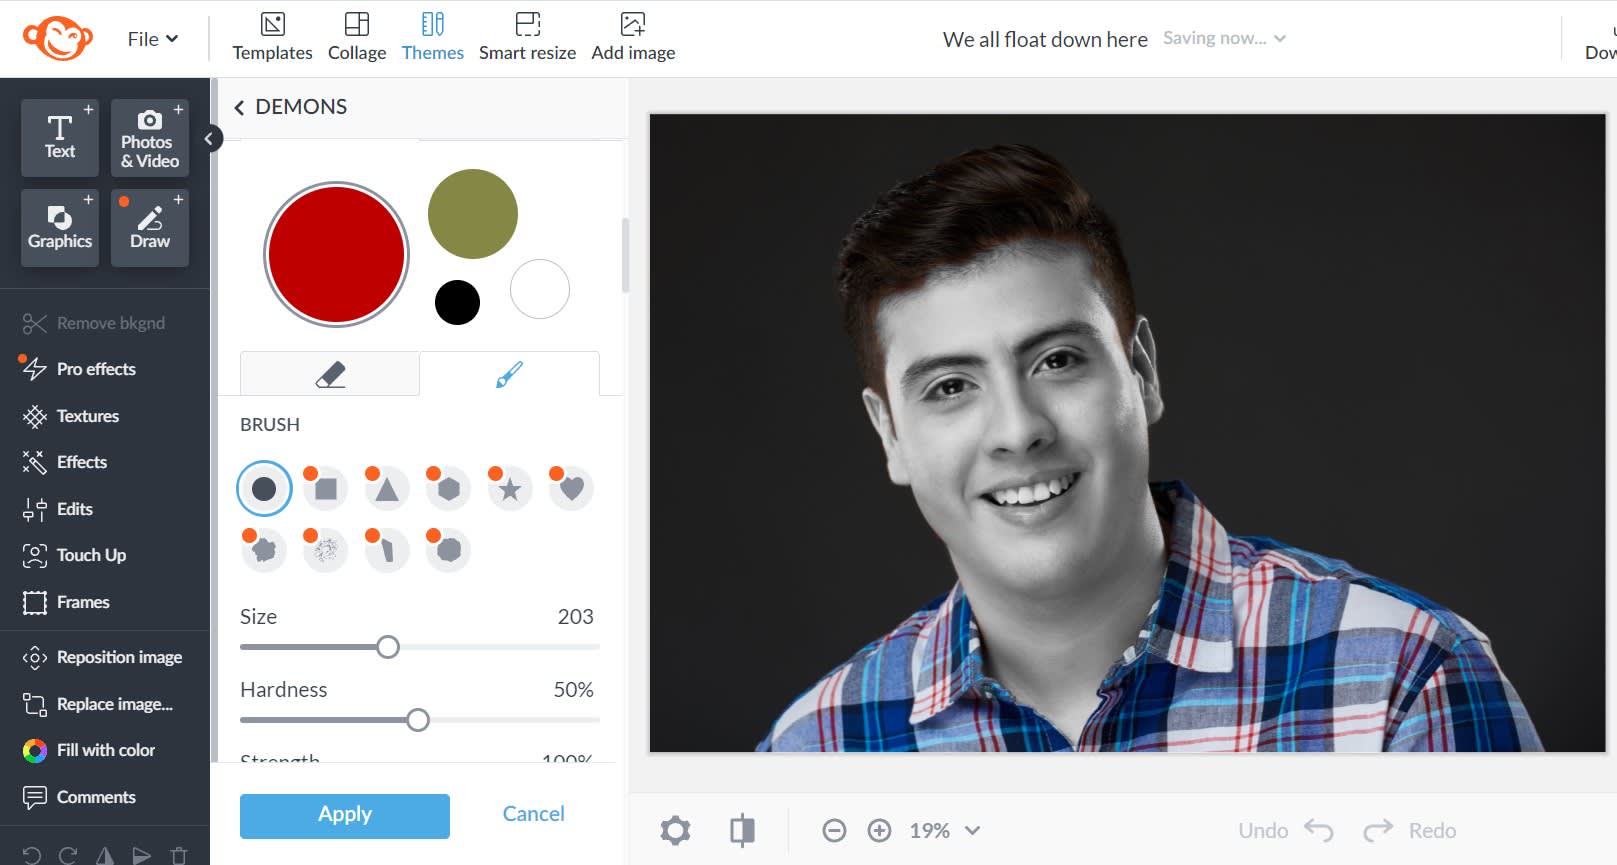
Open the Demons theme and click Harrowing Hue. Click the box with the white color and adjust your brush size. Paint the color onto the whole face and any other skin that’s showing.
Once your image is looking sufficiently ashen, click the eraser icon and erase over the eyes and mouth (or don't), and any hair that you might have accidentally painted.
When you’re satisfied with how it looks, click Apply to save your changes.
3. Add some red details
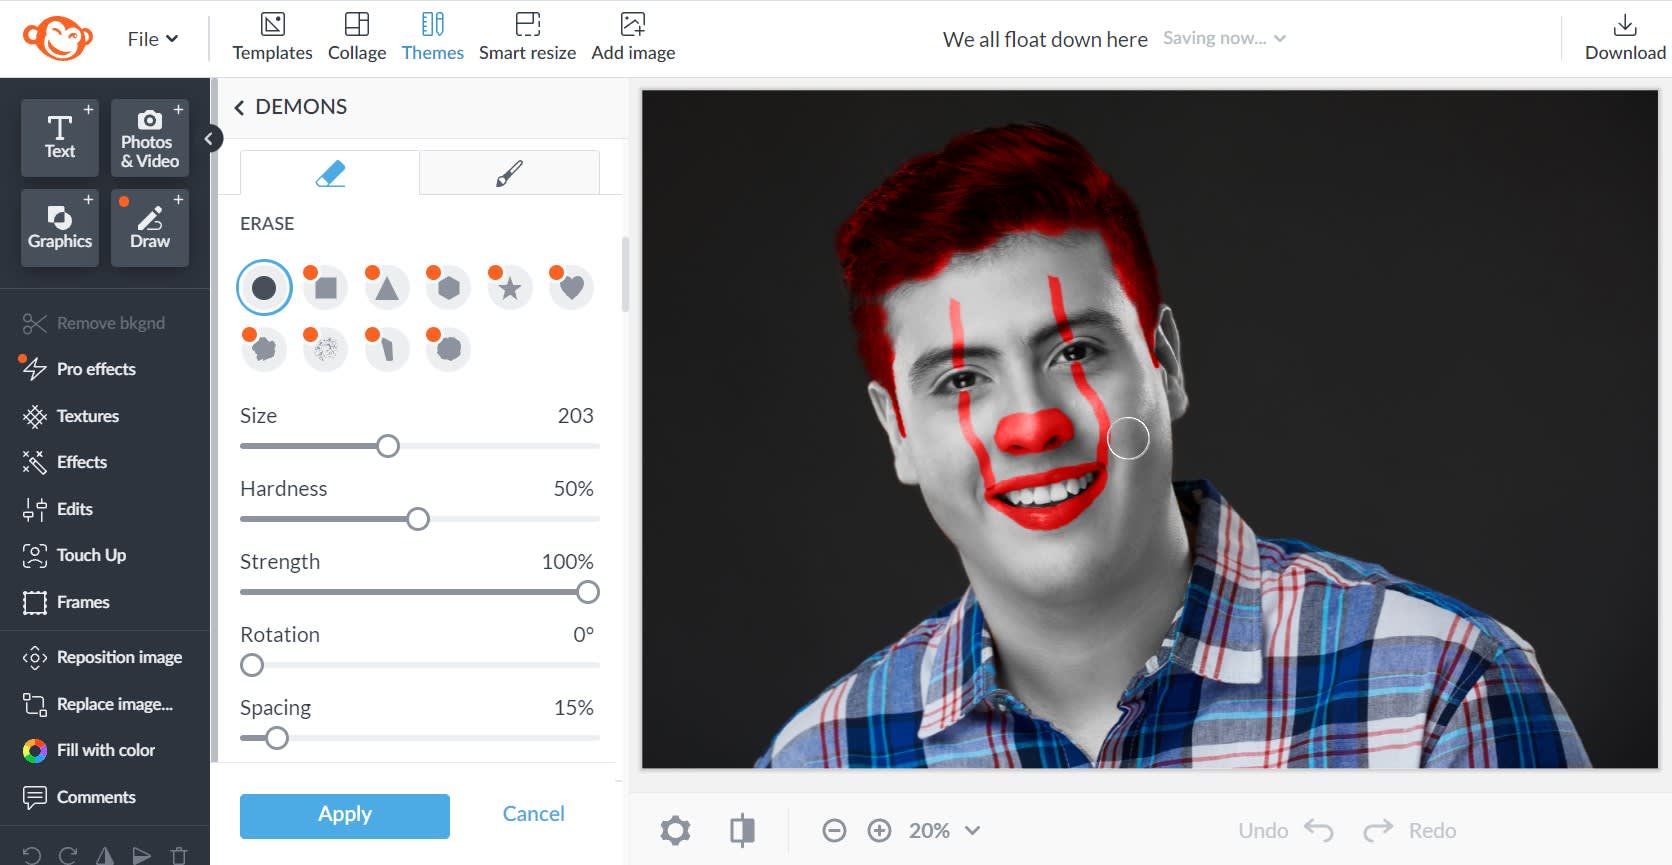
This is where the clown really starts to come out. Open up Harrowing Hue again and make sure the red color is selected.
Adjust your brush size and carefully trace over the lips. Add two thin lines, starting from the forehead and going across the middle of the eye and eventually connect them back to the ends of the mouth. Lastly, paint over the tip of the nose and over the hair (if you’re going for the Ronald McDonald sort of look). If you painted over the eyeballs or accidentally strayed out of the lines anywhere you can always go back over it with the eraser.
Once you’re happy with how it looks, click Apply.
Pro tip: To get an even darker (read: blood) red, trace over where you applied it originally with another layer.
4. Apply creepy eyes
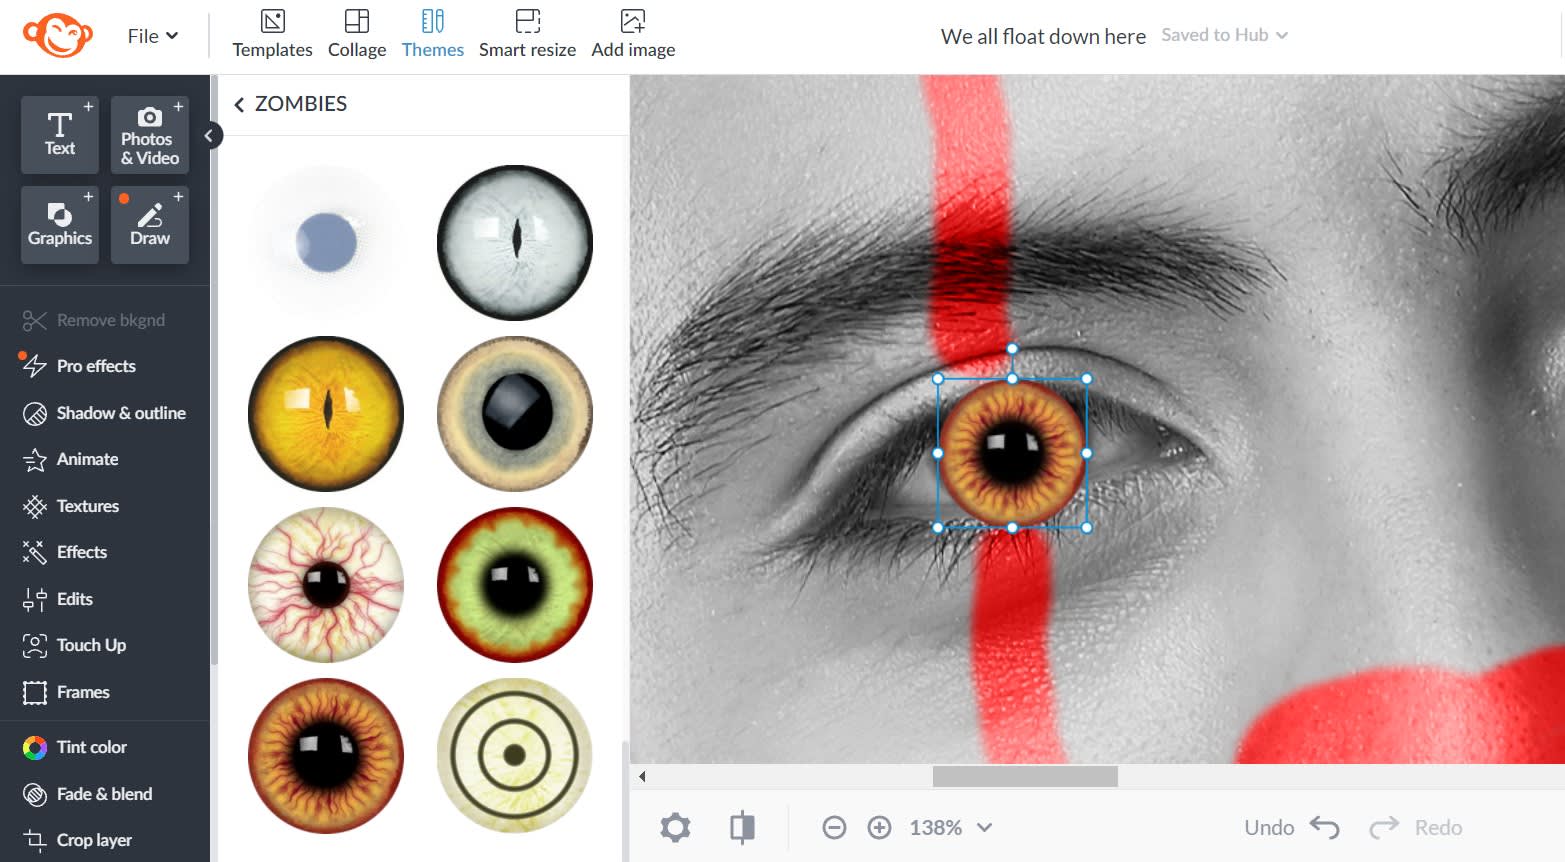
Head over to the Zombies theme and click Corpse Eyes. Any of these peepers will do, but we’re especially fond of the bloodshot orange one. Click it (or one of the others) to add it to the canvas. Pull one of the corner handles in to make it smaller and use the Fade slider on the left Graphic Tools menu to adjust its color density.
Click and drag it over one of your subject’s pupils, and resize until the spooky eye fits exactly over the subject’s pupil. Use the eraser to get rid of anything that spills over the eyelid (you might need to zoom WAY in to do this).
Good to go? Good. Now do the same thing with the other pupil.
5. Taint those pearly whites
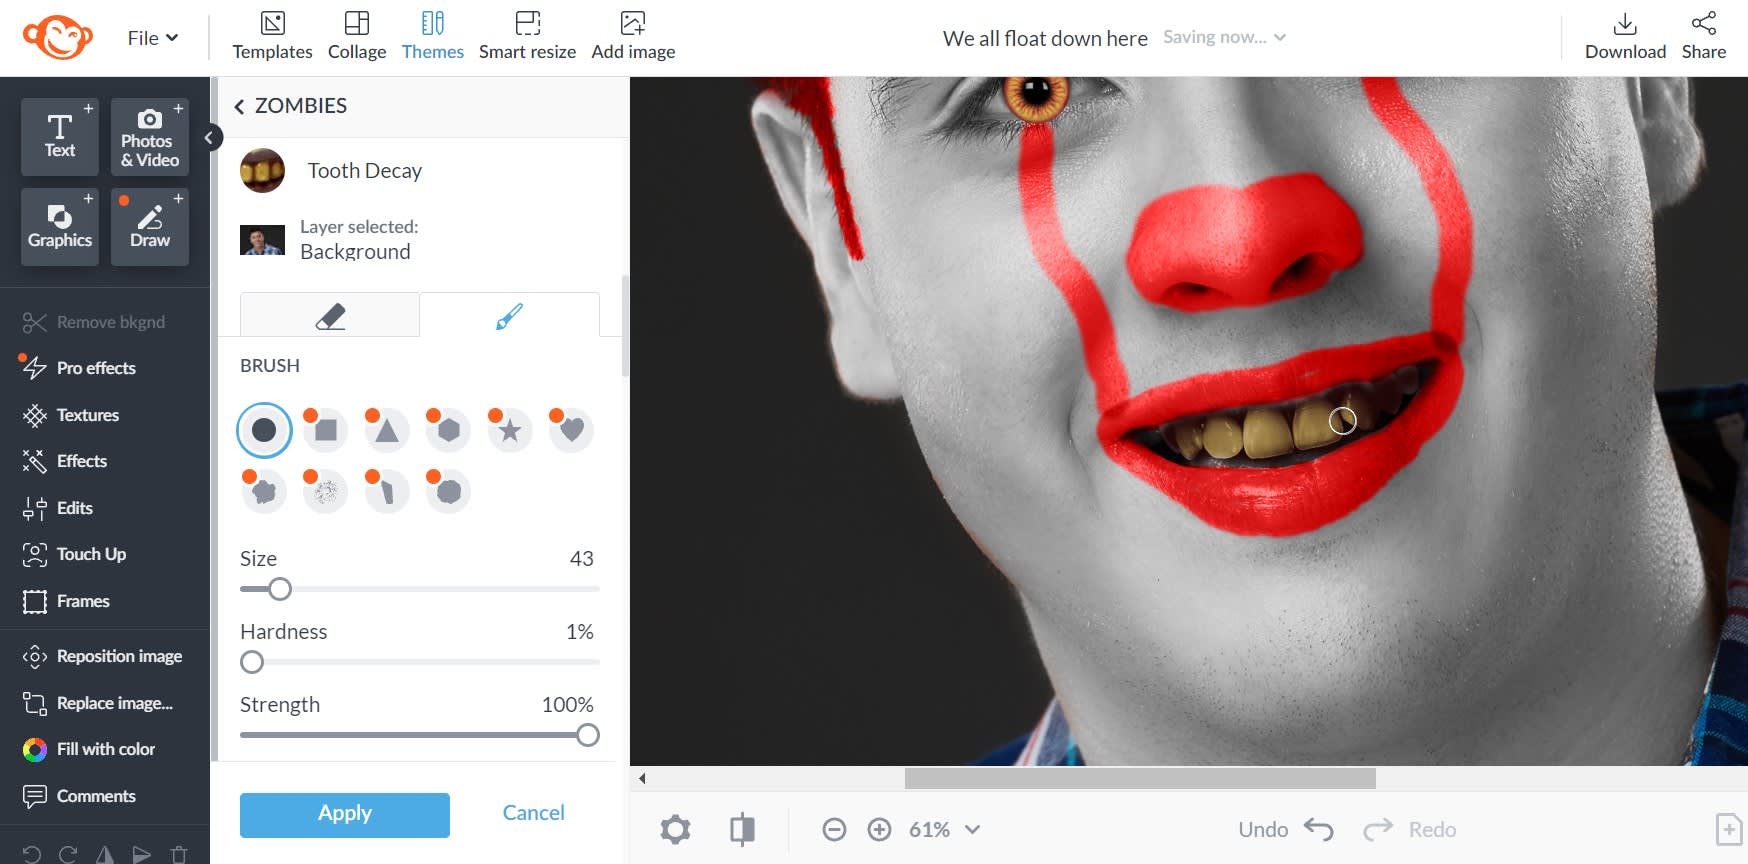
This step is optional, depending on whether or not your special clown has his mouth open (our poor subject did).
If yours does too, open Tooth Decay and paint it on over the teeth. Use the eraser if you go outside the lines and adjust the Fade slider to make it more or less awful. We decided to go full-on rancid tooth decay.
On a totally opposite note, if you need to make those pearly white shine even brighter outside of the Halloween season, check out our touch-up tools. They get the job done fast.
6. Add some dark shadows
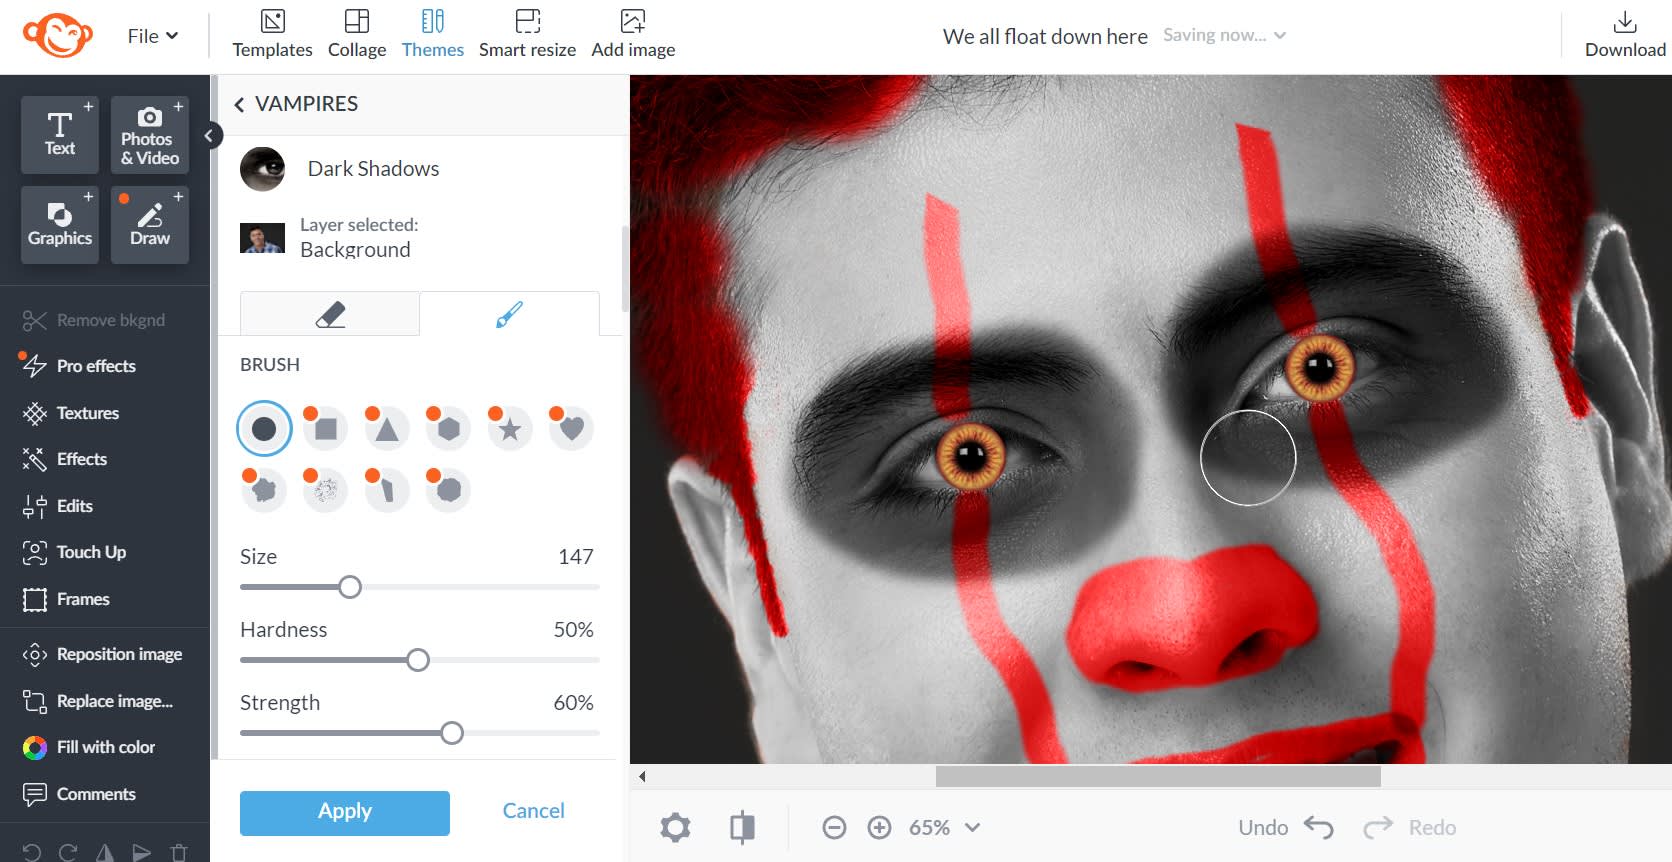
Mosey on down to the Vampires theme and click Dark Shadows. Paint it around the eyes and adjust the Strength slider. Click Apply when you like how it looks.
Tip: This is another effect that looks extra spooky when you layer it on.
7. Darken the background
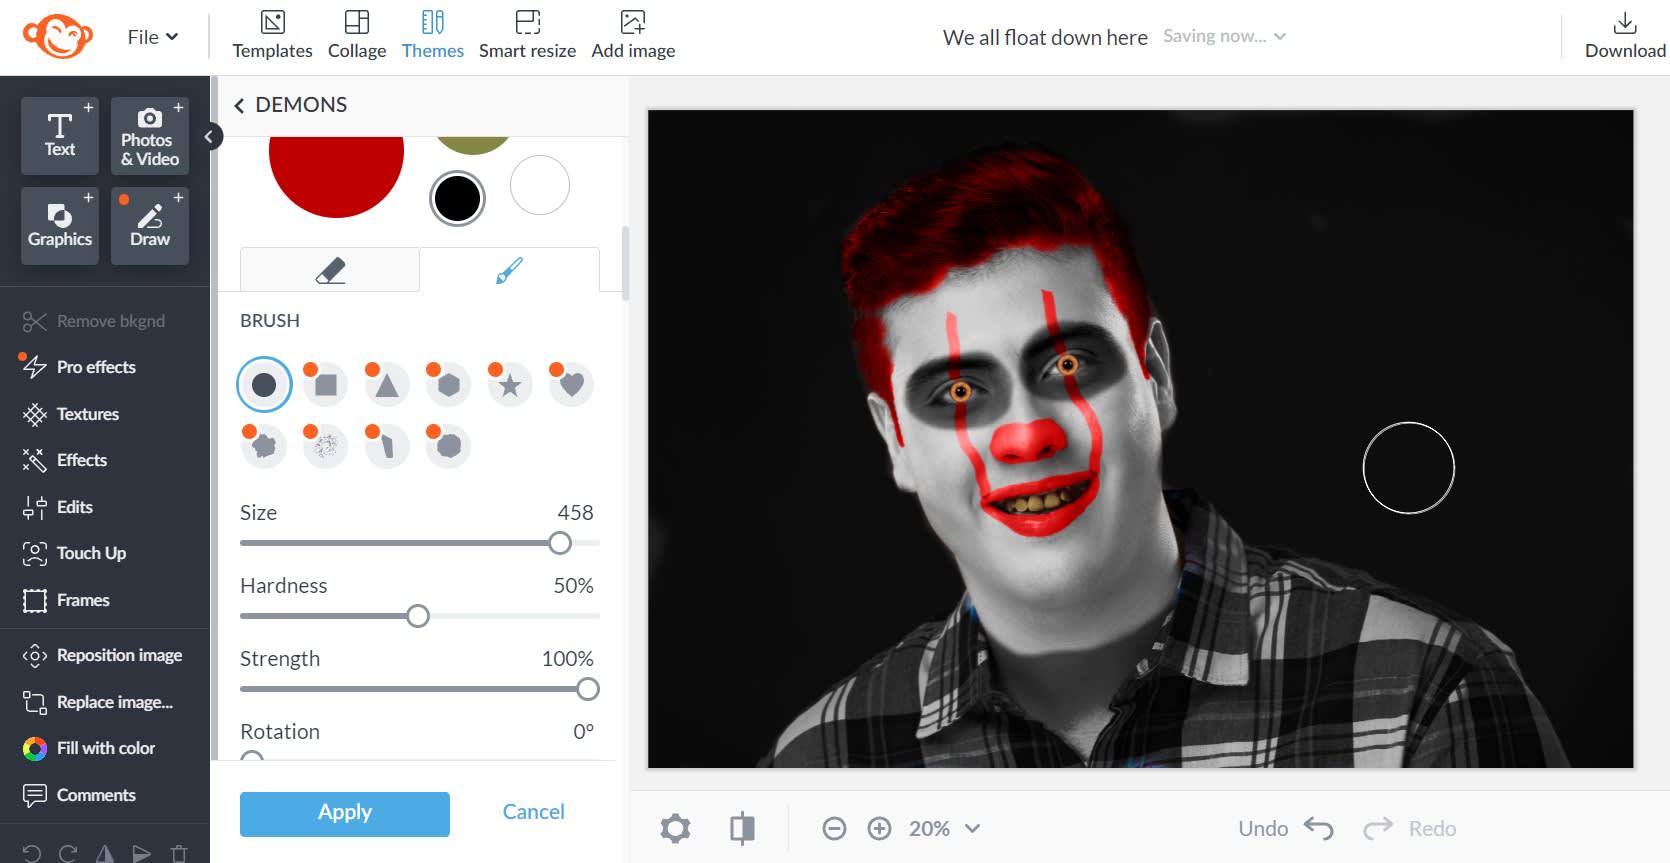
Back in Harrowing Hue, select the black color. Paint it everywhere except the face and adjust the Fade slider until it looks just right. We like “suddenly appears in your bedroom when you thought you were alone, his face gently emerging from the shadows”, but go with your own definition of “just right.”
Take your scary clown pic to the next level
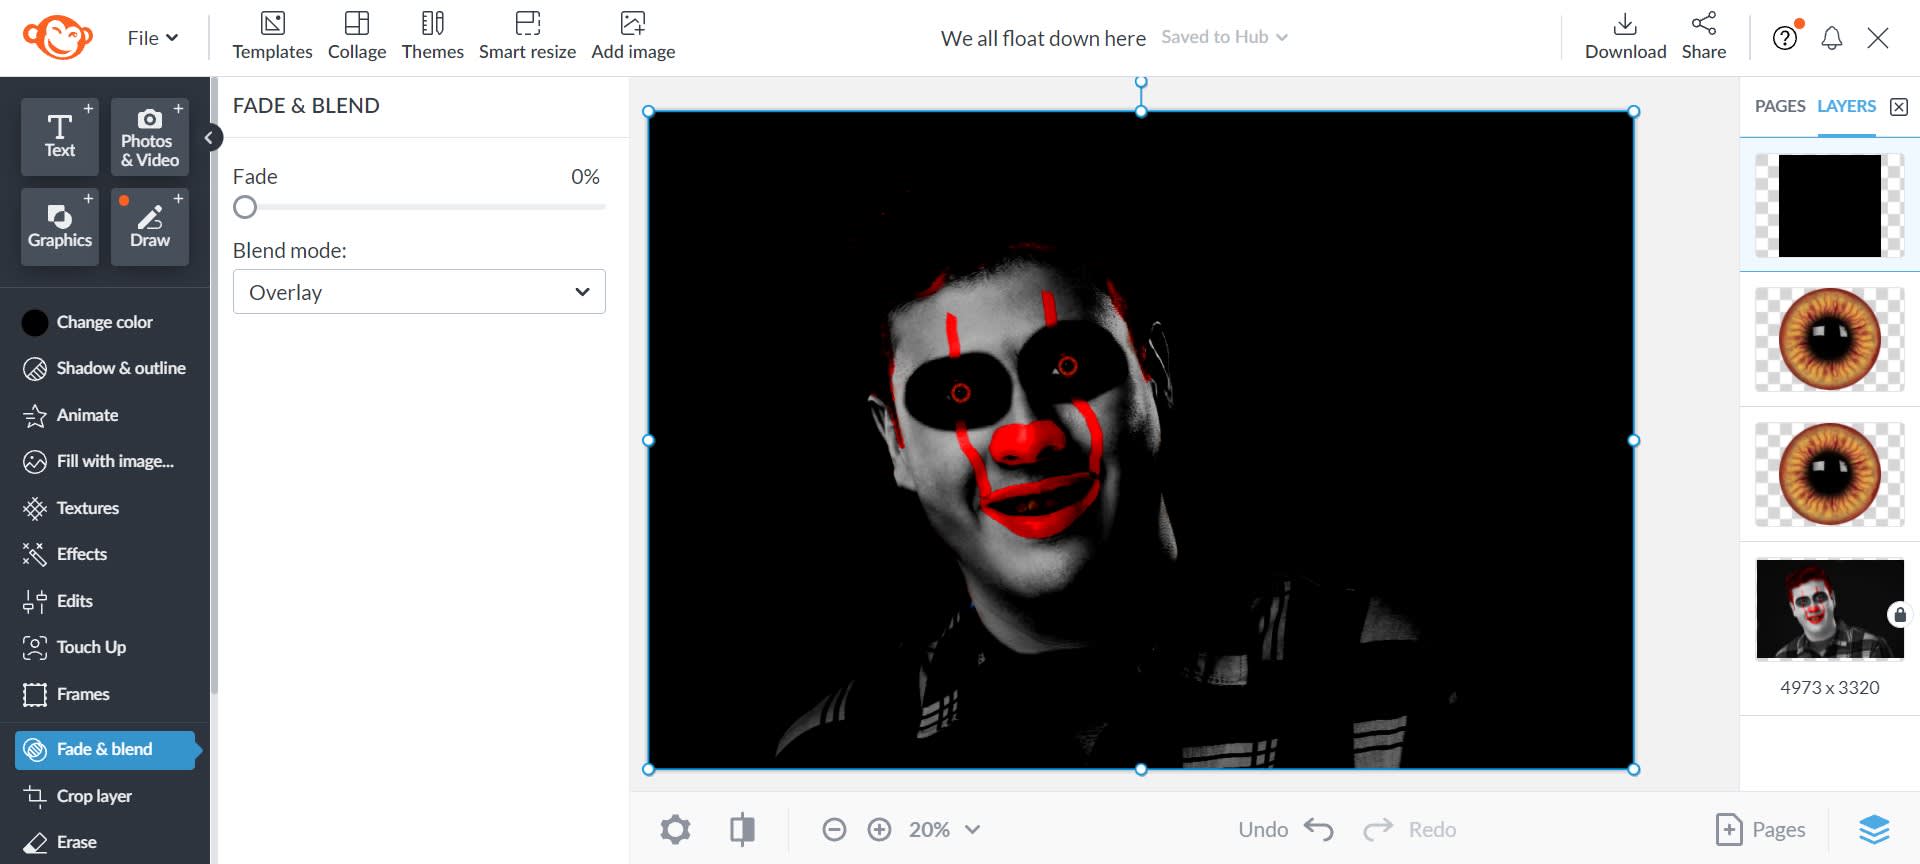
If you reallllly wanna be extra with this, you can do what we did above. Click the Graphics tab on the left and insert a black square graphic from the "Basic" category. Size it to fit over your canvas, then click Fade & blend on the Graphic Tools menu. Select "Overlay" and you'll be left with something straight out of nightmares.
Of course, you don't have to celebrate Halloween with a bunch of scary clown pics. If you're looking for fun ways to spruce up your brand for the season or get the entire fam involved, check out these reads:
