It’s said that humans can see an infinite number of colors—which explains why picking a few for, say, a special event or design project can feel nearly impossible.
Enter color palettes, the non-professional-designer’s tool for determining color schemes. We’ll quickly run through how to create your own palette with PicMonkey’s tools, and show you how to use it with our new design templates. Because color palettes + design templates = nearly fail-proof designing. Find all that info below, and start making super profesh looking wedding invites/baby announcements/thank you cards/birthday greeting cards right now.
Find your true colors

Before you start changing up the colors in our new templates, you’ll probably want an idea of which colors you want to use. That being said, you can totally go freestyle and play with the color-changing tools in the Editor sans plan—your choice. If you wanna lock down a hue coordination scheme before you pick a template, here’s the rundown of how to make a color palette in PicMonkey.
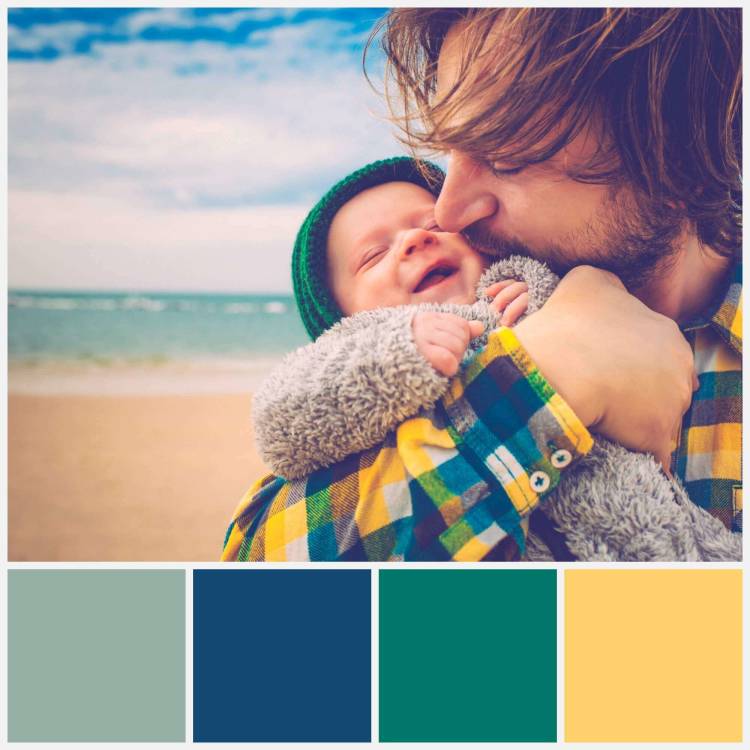
First, find some color inspo. Pictures, clothing items, really anything with multiple colors can serve as the basis for your color palette. If your inspiring object isn’t a photo, snap a picture of it.
From there:
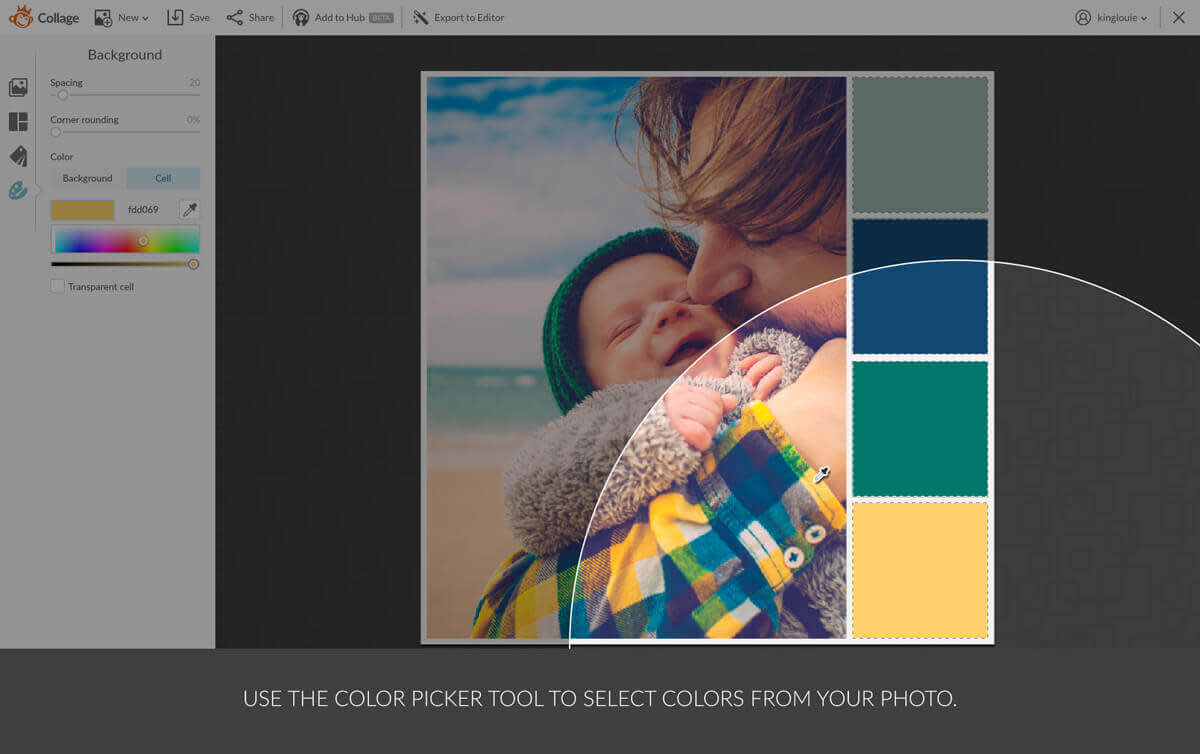
Open your image in Collage.
Choose your layout from the Layouts tab.
Use the color picker in the Background tab to change the color of your empty cells.
For a more in-depth look at the process (complete with some pretty color palettes), check out our article about making custom color palettes with PicMonkey.

Using your colors with design templates
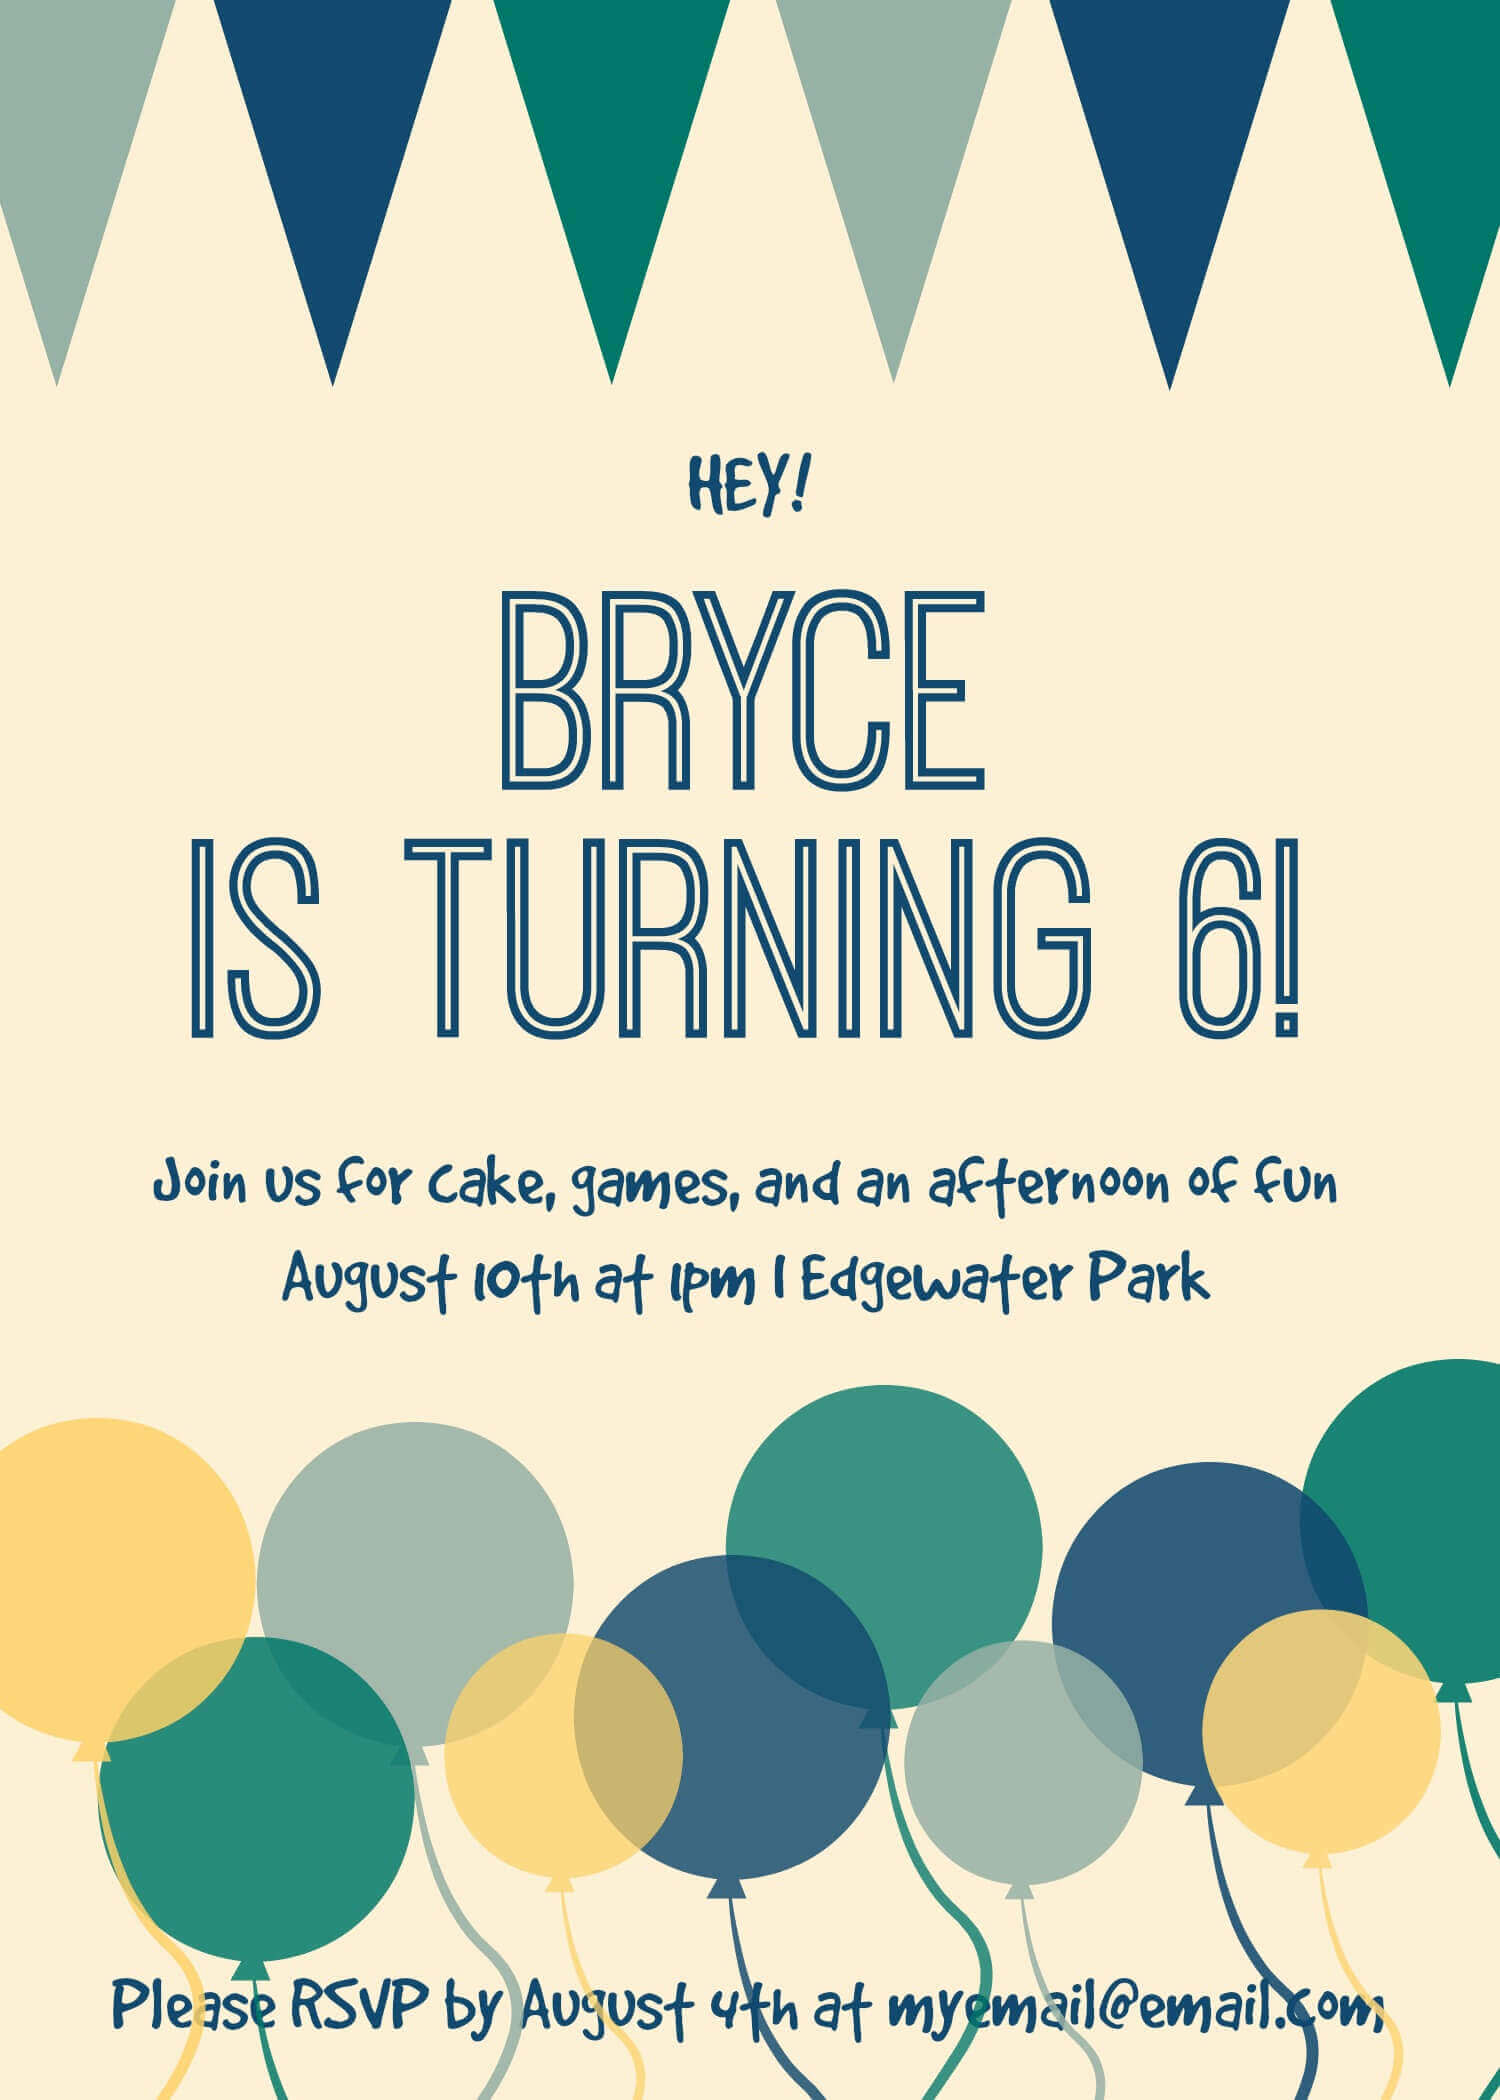
Now put your new color palette to work! Head to Templates and find one that suits your fancy. Click Customize, and your chosen template will open in the Editor. You can alter your template’s colors in a few different places:
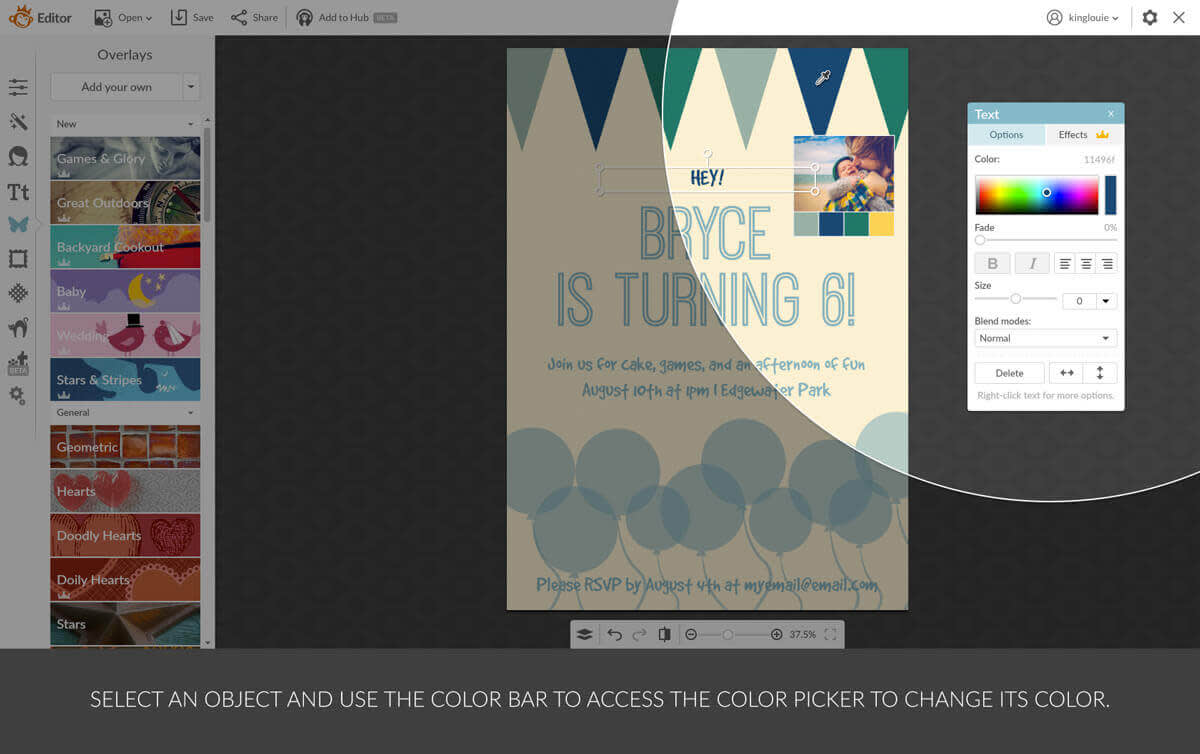
The Graphic and Text palettes. These hover over your template when you click on a text box or graphic, or select one of those items using Layers.
Canvas Color. Wondering how to change the background color of your beauteous template? Head to the Basic Edits tab and click Canvas Color.
You can specify your hues with the hex code (a mix of numbers and letters that tells computer machines which color to display). You’ll find the hex code right above the color picker on the Graphic and Text palettes, and in Canvas Color.
You’ll need to specify the hex value of your desired hue when changing the canvas color of your template. For text and graphics, you can use the eyedropper.
Start by heading to the Graphics tab, and click Add your own. Open your color palette, and move it out of the way. You can size it down with the corner handles if you wanna—you just need to be able to see your color options.
Now start eye droppin’ haute hues! If you made a color palette in Collage, you’re already BFFs with the eyedropper. Select the part of your template you want to change (it’ll be a text box or graphic) using the Layers palette or by clicking on it. Now click the color bar on the Graphic or Text palettes, and your cursor will change into an eyedropper. Pluck your color from your palette, and the design element will change to match.
The Graphic palette looks a wee bit different for two-color graphics. For these super special graphics, you’ll see a Color 1 and Color 2 option with a carat in the corner of each. Click it, and the eyedropper icon will display on the palette.

Once you’ve personalized your template with colors from your palette, click Save or add it to Hub, in case you wanna swap out the colors all over again.

