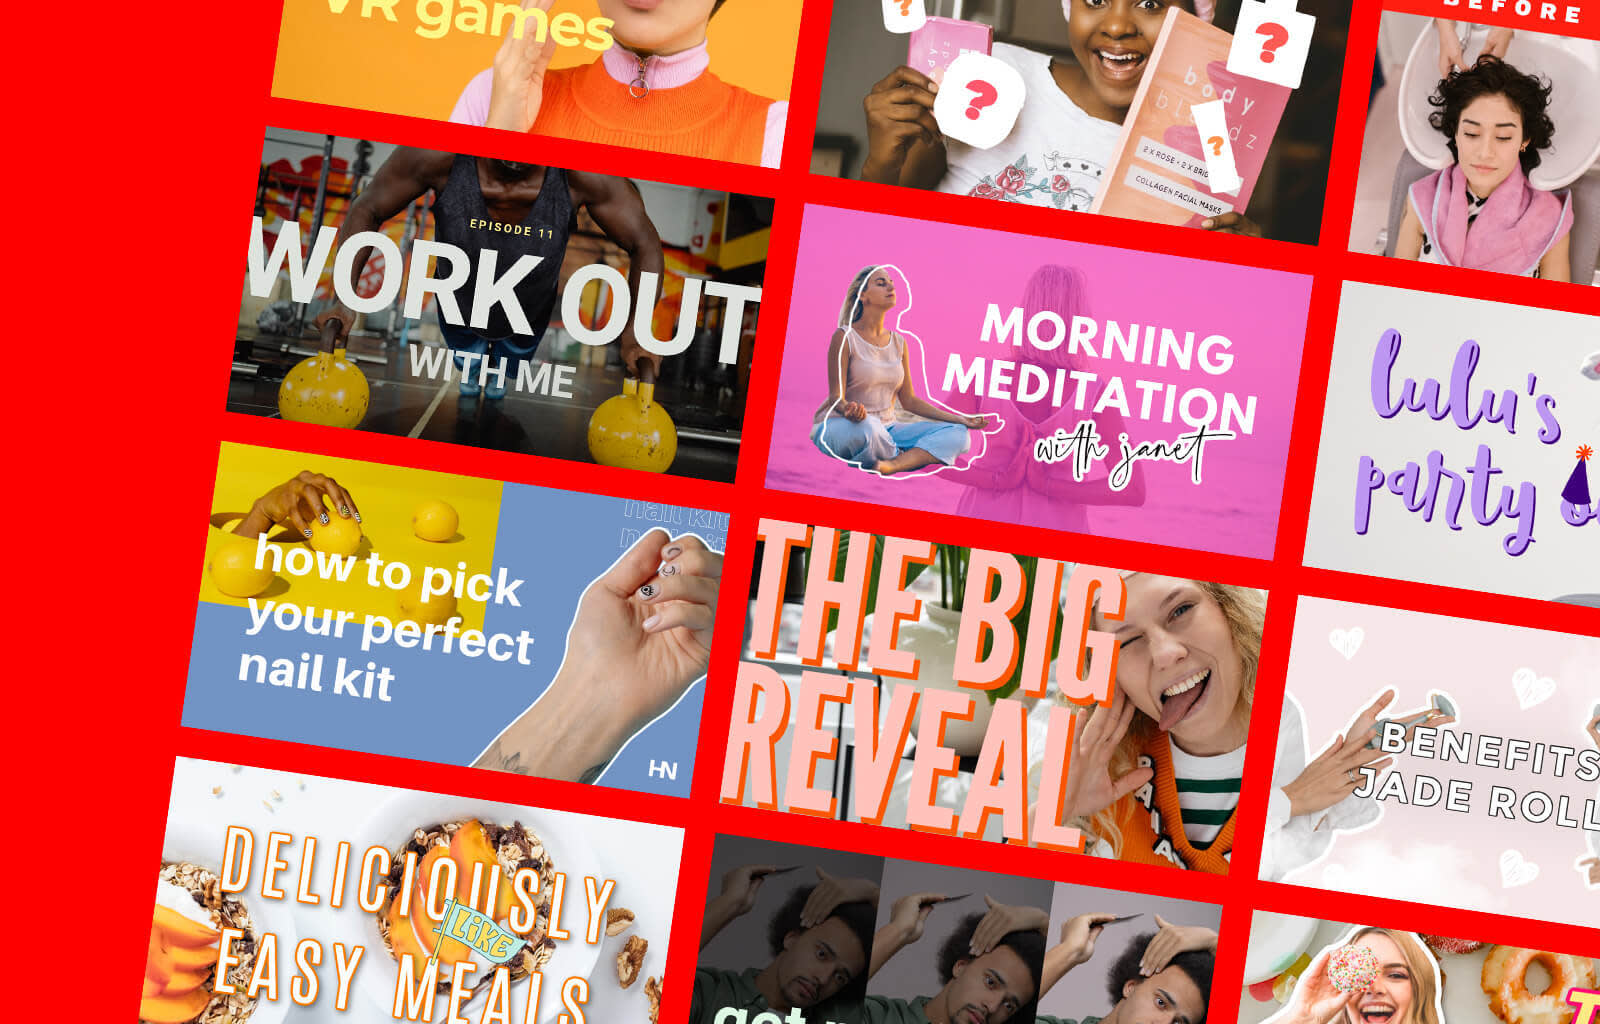
YouTube thumbnails are the first thing your viewers see when they’re exploring your YouTube channel. They’re a lil’ glimpse of what your video will be like, and a big factor in determining whether viewers watch it or not, so you wanna make it eye catching.
The good news is: if you can imagine it, you can create it with PicMonkey. Here's how to create a YouTube thumbnail, from step-by-step instructions to design tips to uploading onto the 'Tube.
What is a YouTube thumbnail?
Yes, a thumbnail is the first thing a viewer will see, but what actually is it? Think about a sneak preview — something that gives you a peek into what a video is about. That's a YouTube thumbnail.
It's kinda like a bouncer at a club, except you want this bouncer to let in as many people as possible. With YT click through rate being as important as it is for the success of your channel, you want to make thumbnails that interest, promote, inspire, and everything in between.
A fantastic video is nothing without a similarly tantalizing YouTube thumbnail. So let's get to work.
How to make a YouTube thumbnail in PicMonkey
Open a YouTube thumbnail template, or start from scratch with a blank canvas.
Export directly to YouTube from the Share menu, or download to your computer and upload yourself (we'll show you how).
Now that you’ve gotten the gist of it, let’s dive deeper and get into the juicy details.
Size your YouTube thumbnail image correctly
See all YouTube image sizes here.
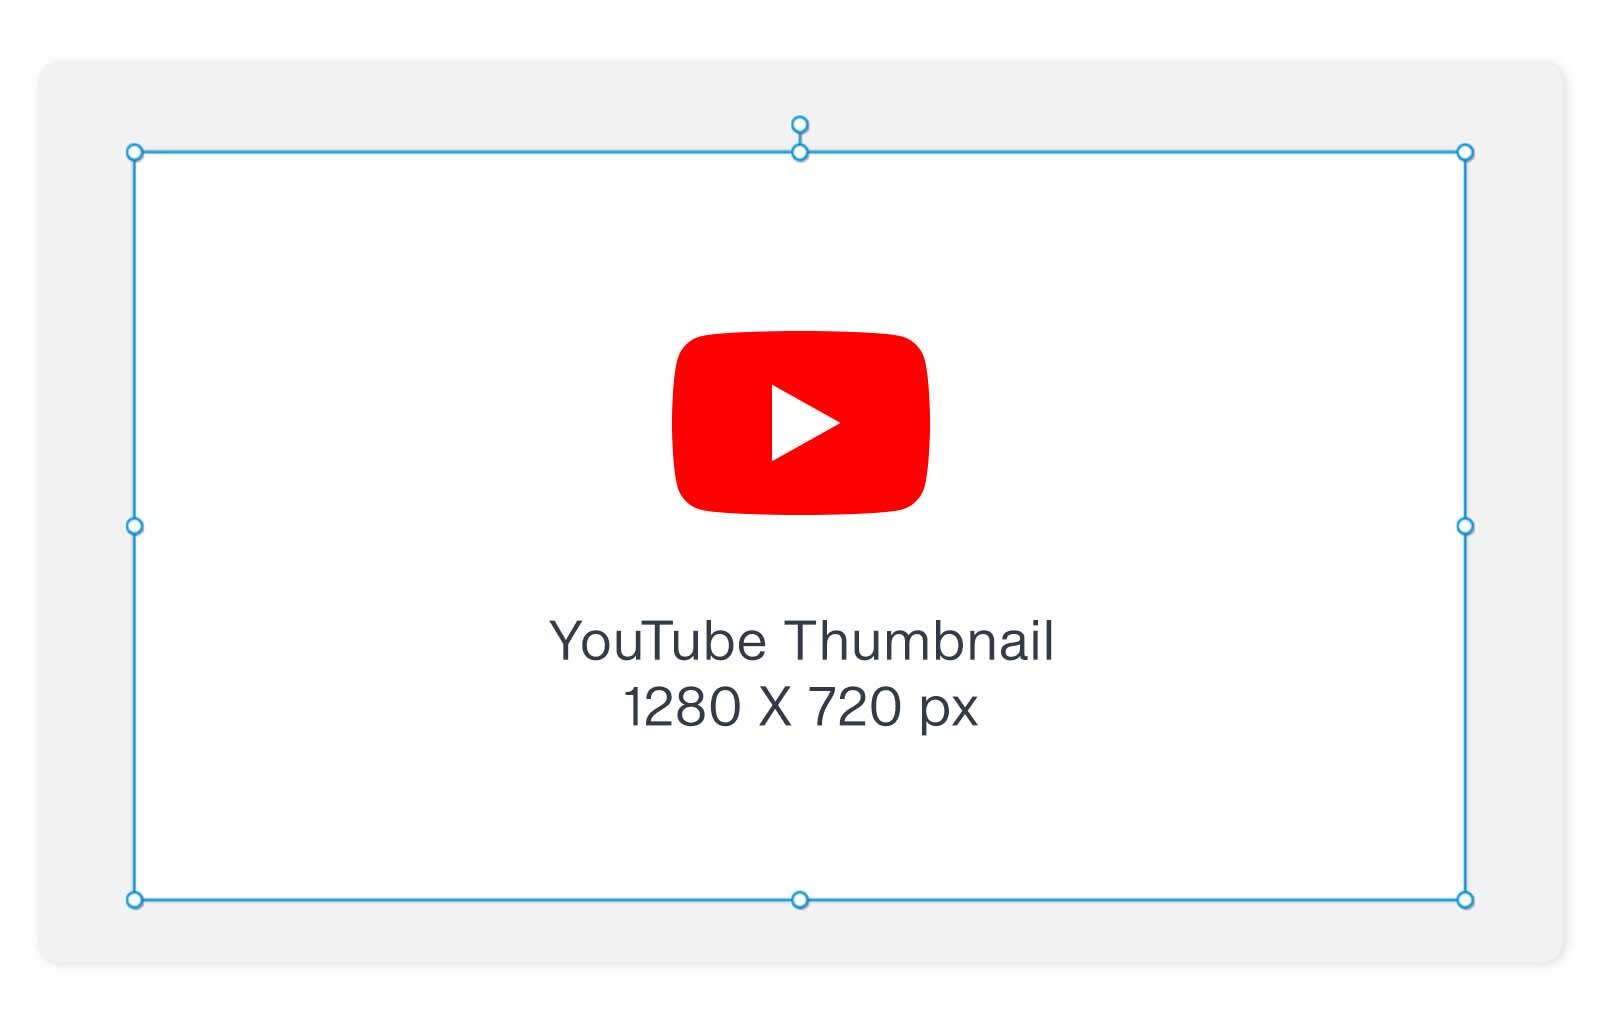
Whether you start with blank canvas or template, both come perfectly sized at 1280 x 720 pixels. You can also resize or crop one of your own images to these dimensions. If you started with a blank canvas, go ahead and choose a color for it by clicking Background color in the Edits tab.
Add a graphic to your YouTube thumbnail

PicMonkey’s graphics are vector-based (except for a rare few), which means they stay perfect and crisp no matter how big or small you resize them. You can change up the color, add a drop shadow, or erase parts of them using the controls in the Graphic Tools menu; it opens on the left when you add a graphic and when you click any graphic in your design.
If you’re really going crazy with a lot of graphics, you’ll want to manipulate them using the Layers panel — click the icon that looks like a stack of square pancakes in the bottom toolbar. The Layers panel shows all your design elements, and has up and down arrows for controlling the stacking order. Click a layer, then click the three vertical dots to the right of it, and you can duplicate, straighten, or delete it.
To add your own graphic (or photo), click Add at the top of the Graphic Tools menu.
Make your YouTube thumbnail text pop
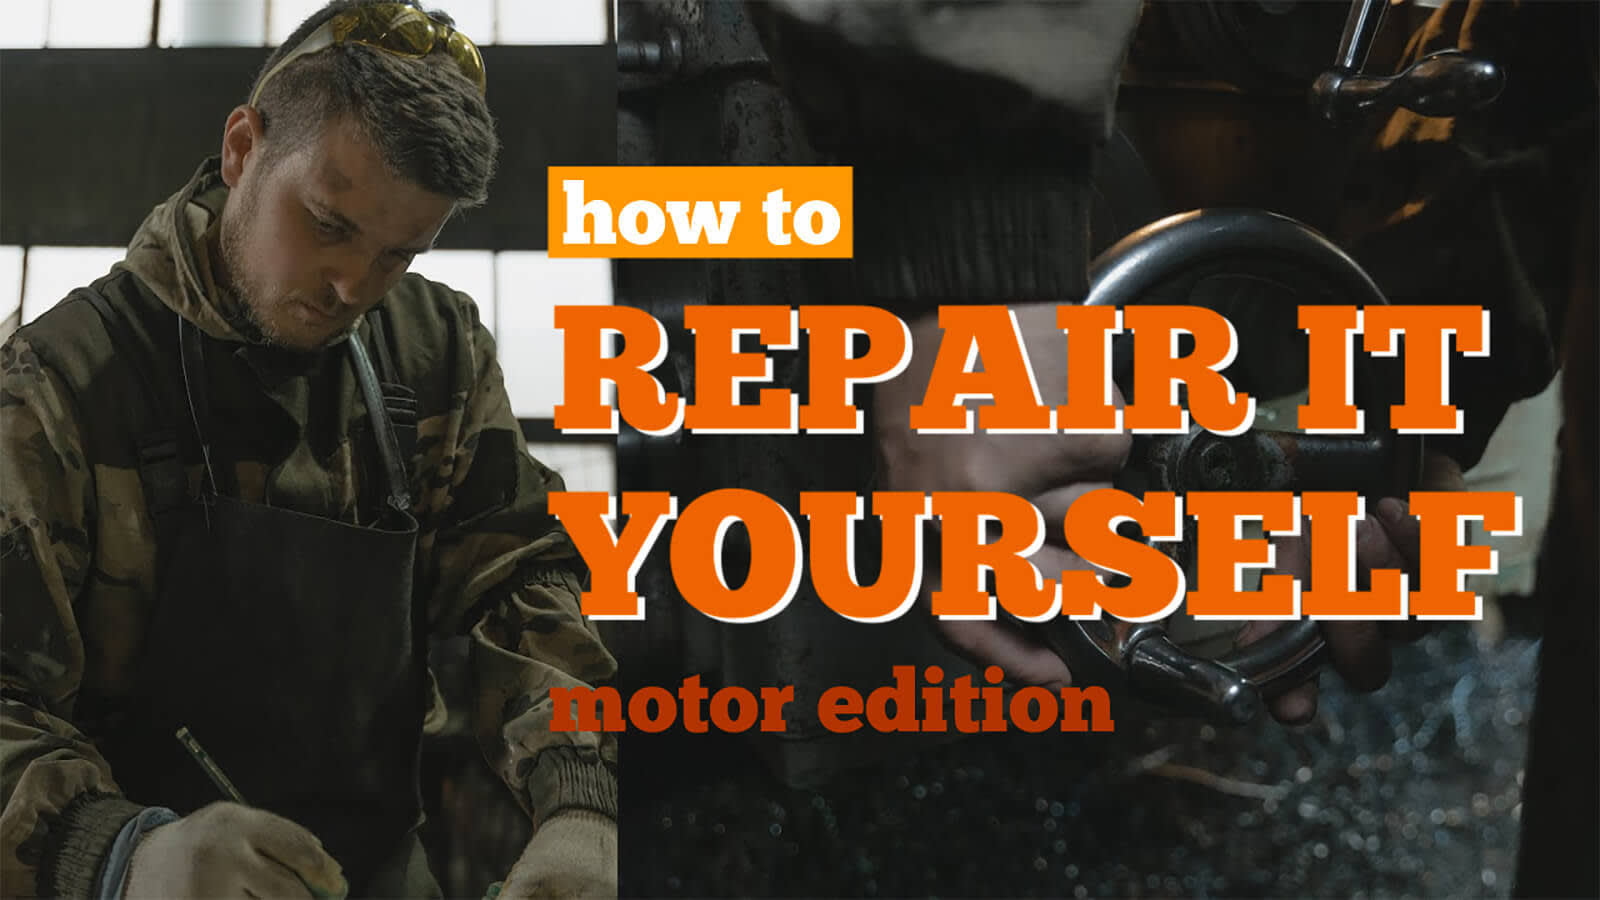
Adding text to your designs is easy — click the Text tab on the left, then click Add Text and start typing in the text box that appears over your design. Or you can click one of the text layouts in the left panel and simply replace the text with your own. Our text layouts make pairing fonts as easy as can be.
Here are some quick tips for making your text stand out:
If you’re putting text over a busy background or photo, apply a solid-colored graphic (a rectangle or a label). Click the Layers panel, then click the down arrow to make it appear behind your text.
Use Outline under the Shadow & outline tab in the Text Tools menu to make your text pop.
Apply light-colored text to dark-colored backgrounds and vice versa.
Be bold. Remember that your thumbnail appears in a grid full of skillions of other thumbnails, so make your text size large. Flashy display fonts with curlicues and a distressed aesthetic won’t be legible, so stick to clean, sans-serif choices.
You can give your words some punch by adding a drop shadow. Click Shadow & outline in the Text Tools menu to add one.

If you’re pressed for time, don’t despair. PicMonkey’s got a library of beautiful YouTube thumbnail templates (in the desktop Editor and the PicMonkey mobile app) that make it quick and easy to make your own custom YouTube thumbnail. Open Templates and scroll to choose any template you like, or type what you’re looking for into the search bar. Ba-bam! Once your pre-made design is open, you can change it up with your own text, graphics, textures — everything!
How to upload a thumbnail to YouTube
You can upload your YouTube thumbnail directly from PicMonkey, or download to your computer and DIY. Remember, too, that your design always auto-saves in Hub, PicMonkey's cloud storage, so that you can re-edit whenever you need (or use a design as the basis for your next YT thumbnail).
To upload a design from your computer:
Sign in to YouTube Studio (make sure you have a verified account).
Click CREATE to upload your video.
Under "Thumbnail," click Upload thumbnail.
Note: If your video is already uploaded, find it in YouTube Studio, under Content. Click its thumbnail to select the video, then click Upload thumbnail, select your file, and click Save.
How to make a YouTube thumbnail on the PicMonkey mobile app
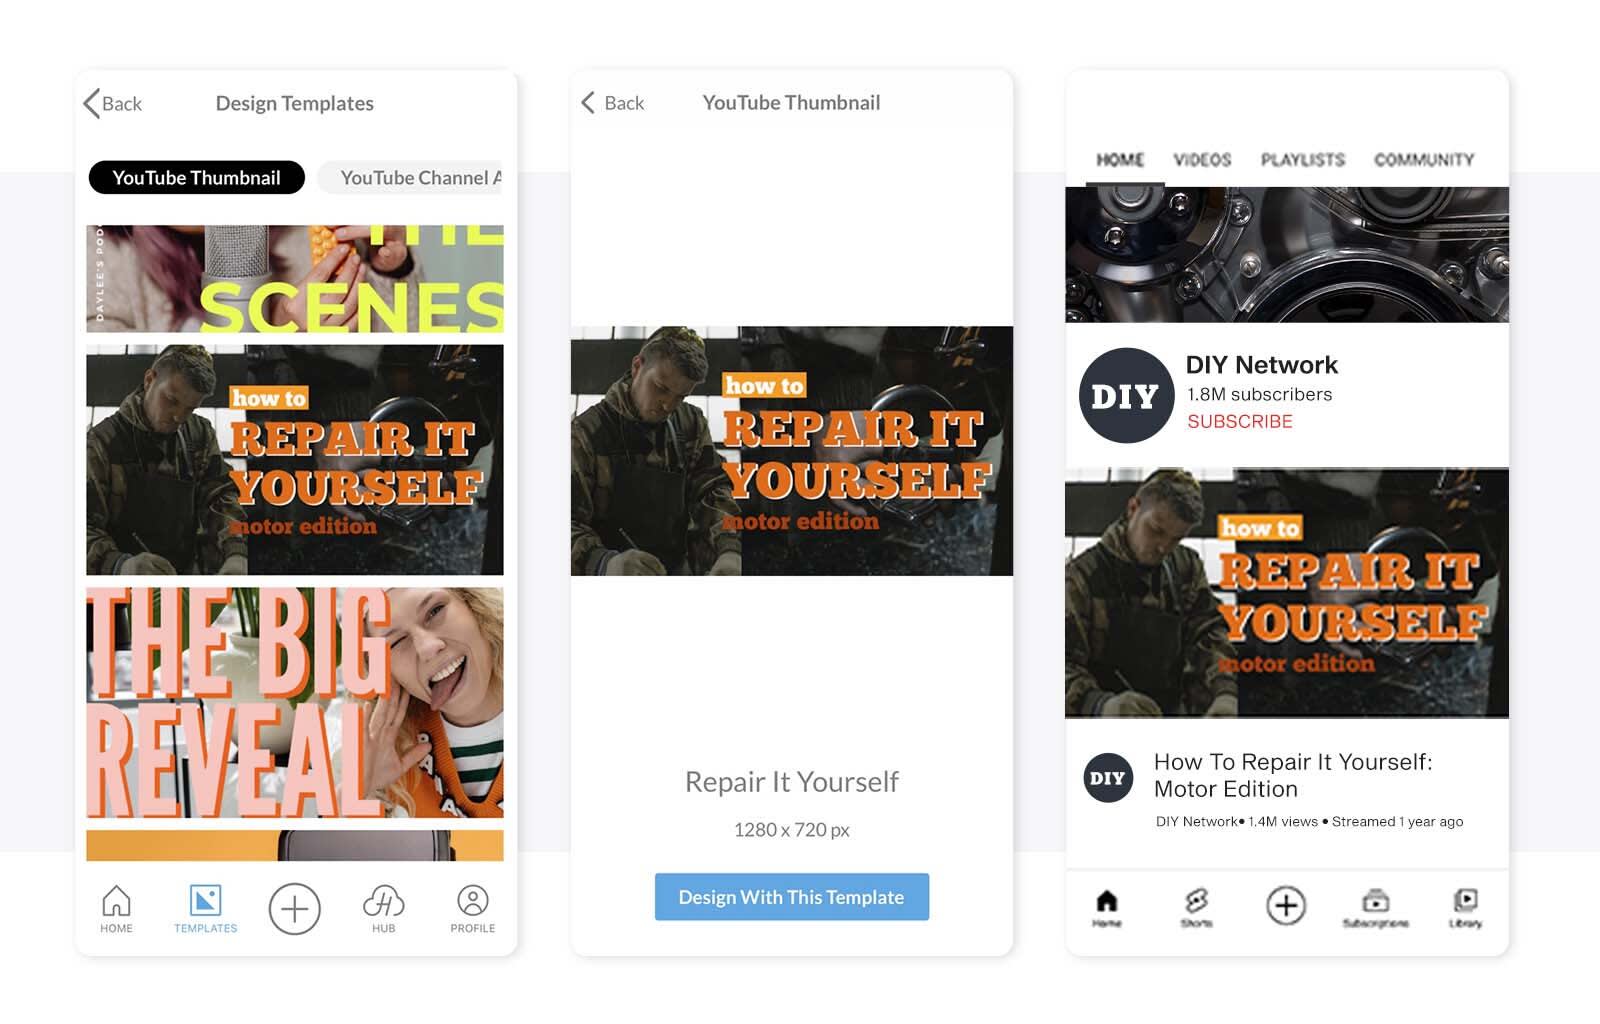
Mobile video enthusiasts, your time has come! We’ve got a quick and easy tutorial for creating a YouTube thumbnail on the free PicMonkey mobile app.
Open the app and tap Templates on the bottom editing toolbar.
Choose a YouTube thumbnail template.
Swap images and text with your own.
Customize further by adding stickers, brand colors, and effects.
When you're all done, tap Save and upload your design to YouTube!


Why stop there? Learn how to make equally amazing YouTube banners and perfect the art of perfectly sized YouTube profile pics.
