You can change the dimensions of the cells within your collage and also the collage as a whole. Smart Resize works with collage, so we’ll show you how to do that too.
To resize the individual cells
Before and after of changing one cell size. Grab and drag to change the cell size on both the X and Y axes.
Click in a cell and drag the white horizontal or vertical handle on the image border to change the size. Notice that the other cells resize in relation and their contents also change to best fit inside the cell.
Delete a cell that you don’t need by clicking the X in the upper right corner.
Need to add a cell? Drag an image onto your collage and hover between cells to automatically create a new cell.
Resizing images inside cells
New as of January 26, 2020: Choose Fit to cell or Fill cell after placing an image in a collage cell
The Collage tool offers two options for placing an image in a cell:
• Fill cell: This option is the default when you place an image into a cell. The image will automatically size to fill the cell's boundaries. Use the Size slider to zoom in.
• Fit to cell: This option will display the entire image inside of the cell. Use the Size slider to zoom in.
To adjust the cell size, use the handles on the cell's border and drag to increase or decrease the cell. The image will resize accordingly in the cell.
Take note of the above collage — two images have been "fit to cell," while the other is filling its entire cell.
Learn more about using the collage tool: How to Make a Collage
To change the spacing between cells and the border size

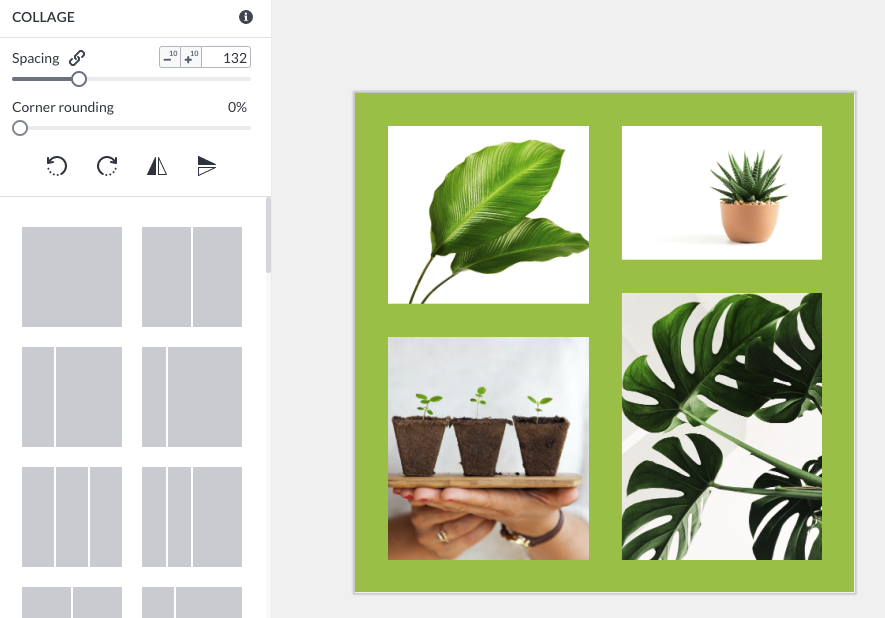
To increase the spacing (padding) between cells, use the Spacing slider on the collage editing panel. When the spacing function is locked, the outer border resizes at the same size as the inner borders (as above).

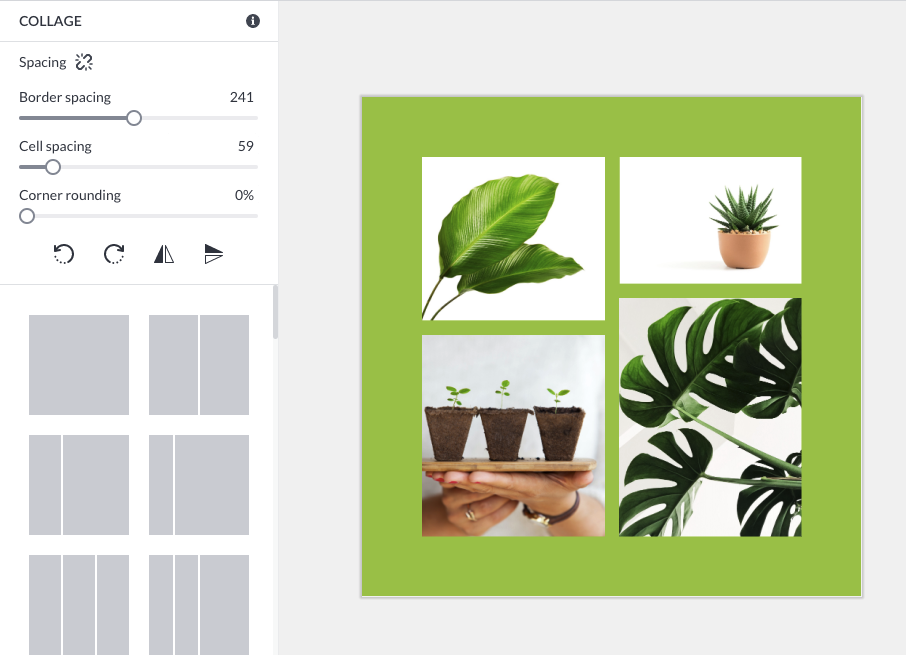
When the Spacing function is unlocked, you can change the spacing of the outer border and inner cell borders independent of each other. Note that if you adjust the spacing in the unlocked state and then lock spacing again, the border will revert to the same size as the inner borders.
Reformatting a collage by changing the layout
You can change the layout of the collage by resizing the cells as explained above. You can also change the collage by adding (or deleting) cells.
Add another cell by dragging and dropping an image
Drag and drop an image from the image browser panel onto your collage to add another cell. Select Photos & videos from the left panel, find the image you want to add (whether your own or stock photography), then click and drag the image onto the collage. When you see a blue line appear between cells, let go of your cursor to drop the image in and create a new cell.
Add another cell by choosing a different layout

A new layout with one additional cell.
While not exactly “resizing” you can “reformat” your collage by choosing a different layout.
Choose a different layout with the same number of cells to use all the same images. The layout will format your images however they will fit the best. You can adjust the placement of the images within the cells using the Image Cell Tools menu on the left panel.
Choose a different layout with more cells to add additional cells to your collage.
Choose a different layout with less cells to remove random cells from your collage. (Not recommended since you don’t know which cell will be deleted. Instead, click the X in the upper right corner of a cell to remove a cell.)
Using Smart Resize with collage

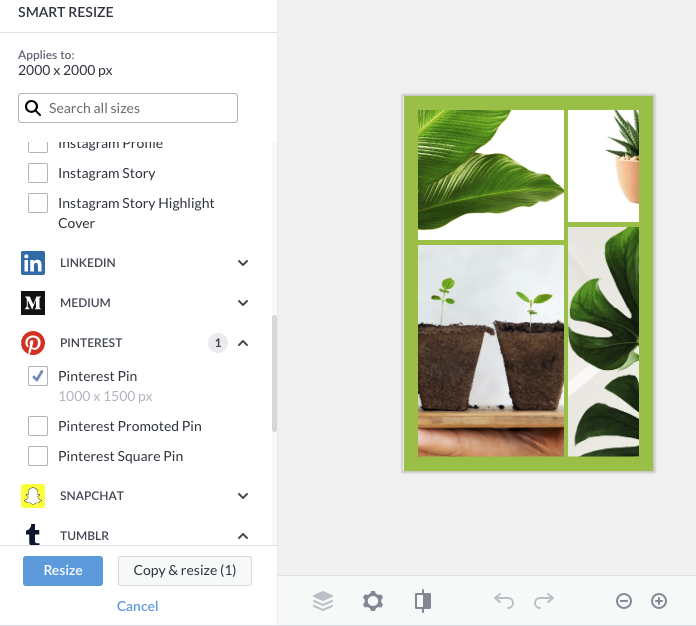
Resizing to fit Pinterest. You can change the placement of images within the cell after using Smart Resize.
Pro subscribers can use the Smart Resize tool with collage. When you’ve completed your collage design, select Smart resize on the top toolbar and choose the pre-set size or social media asset type that you’d like to convert your collage into.
After you’ve changed the size of your collage, remember that you can still edit the images within the cells so they appear best within the new size.