There are all kinds of things you can accomplish with photo editing, from making basic improvements to your image to crafting artsy masterpieces like digital collages. Here, we’ll take a look at how photo effects and textures can alter and enhance the mood of your images. All you need is an image to play with, PicMonkey’s tools, and a little bit of creativity.
Start with an interesting image
If you want to end up with a great image after editing, the single most important thing you can do is take an interesting photo to begin with. Look for an object that catches your eye. It could be as simple as a flower or insect—one of the fun things about photography is spotting the beautiful in the seemingly mundane! For this tutorial, we’ll use this simple detail photo of some wild grapes.

Now let’s take a look at how we can give this photo more of a serene, dreamy feel. If you’d like to create a similar vibe with an image of your own, open it in the Editor and play along.
Experiment with photo effects
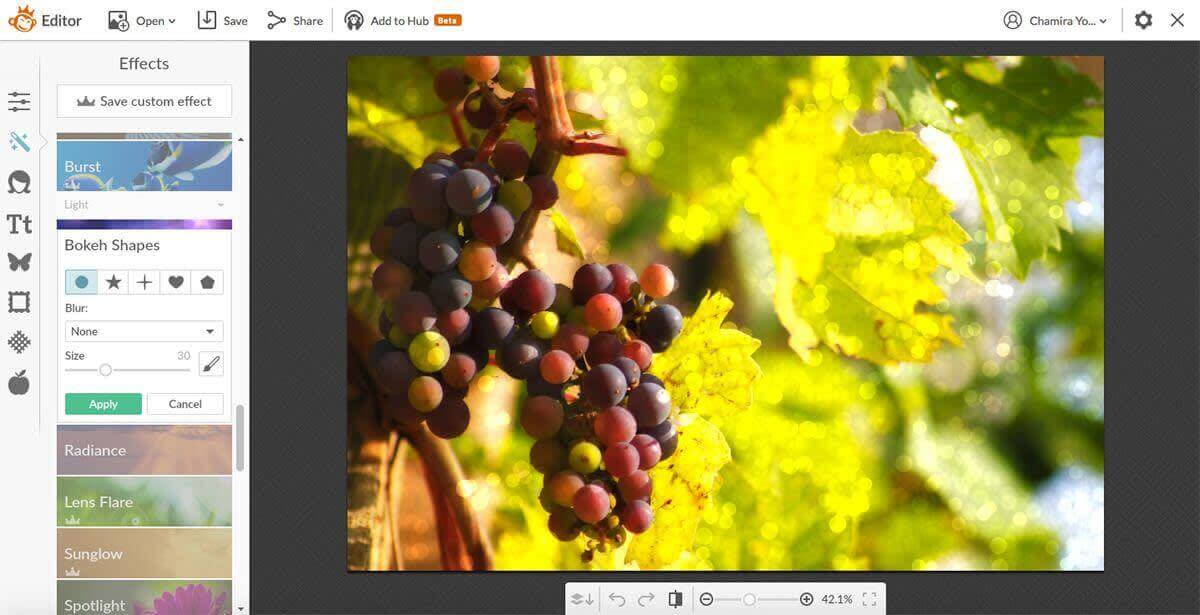
Now it’s time to have some fun! Head to the Effects tab and take a look through the long list of photo effects you can apply. Think about the vibe that each effect creates. For example, if we wanted our photo to feel a little on the artistic or sophisticated side, we could play with the options in the Black and White effect group, or make a color pop. To create a vintage-y, nostalgic feeling, a little Yester-color and a touch of Dark Edges could do the trick. There are about a bajillion ways to emphasize different feelings with photo effects, and playing with them is the best way to discover what works. We’re aiming to enhance the dreamy, ethereal feel of this photo, so we’re going to apply a little of the Bokeh Shapes effect.

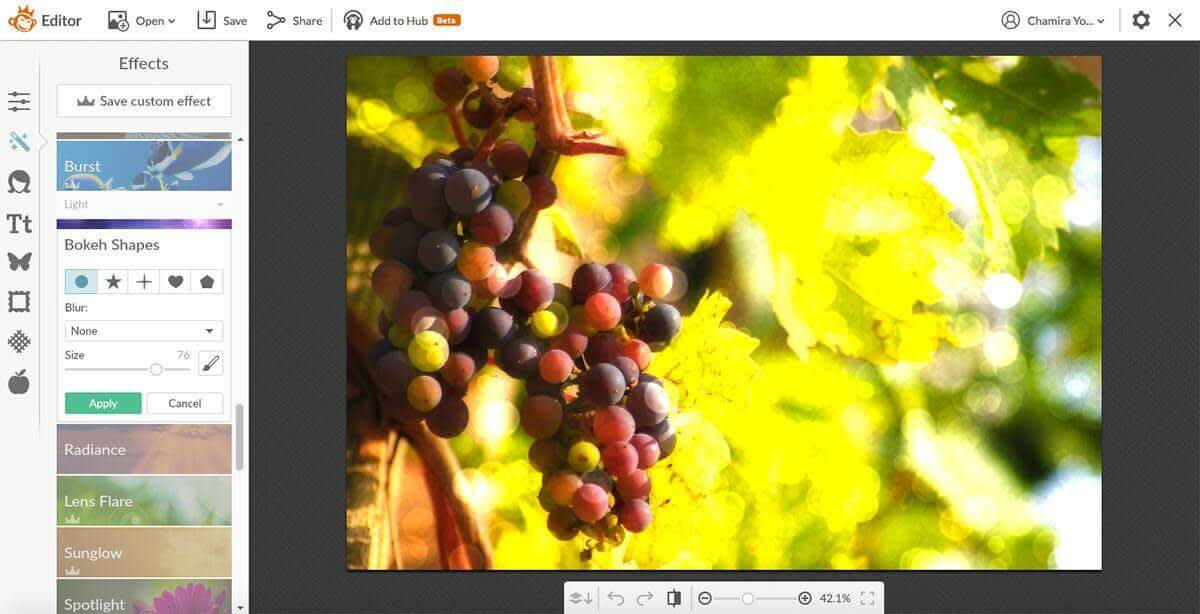
That definitely amped up the dreaminess level, but it’s not quite right. In the name of experimentation, let’s use the Size slider to make our bokeh bigger.

That seems like a bit much for this photo, so we’ll take the size down to 27 and leave the Blur option set to None, since we’re going for a somewhat subtle effect. We could also use the Glowy or Soften options in the Blur drop-down menu. These two pretty much do exactly what their names suggest; Glowy blurs the image in such a way that it seems to almost glow, and Soften preserves even less of the image’s detail, making it look beautifully fuzzy.

Another creative option is to change the shape of our bokeh. We could go with stars, hearts, etc., but for this photo, the more-natural-looking round shape seems to be the best fit. (If you’re loving this look, check out PicMonkey’s article on bokeh effects). Whatever effect you decide to try, be sure to play with the different customization options to really see what works with your image.
Photo textures and mood
Our photo is getting interesting! Let’s take it a step further and apply a texture. Like photo effects, textures can easily change the mood of your image. A texture in the Papyrus group can make your photo feel older (in a good way!), whereas the options in the Weave group give it a tactile vibe. Since we want something that reinforces the dreamy mood we’re going for, we’ll choose Bokeh in the Textures tab. There are six different textures that we can easily apply to our image, and they’re all quite different from the Bokeh Shapes photo effect. We’re going to use the last texture for this photo.
We’ll leave the Blend Mode set to Screen and make our bokeh texture a little less apparent by setting the Fade slider to 60 percent. Here’s where we’re at:

You’ll find a number of Blend Mode options in the drop-down menu, and each drastically changes how the texture layer interacts with your image. You can preview the way that a blend mode will alter your image by hovering over an option in the drop-down menu. When you find one you like, click Apply. You can also increase or decrease the saturation by adjusting the Saturation slider, increase or decrease the transparency of your chosen texture with the Fade slider, and click Move to adjust the placement of your texture.
Textures are automatically applied to your entire image. If you’d like to paint it on specific areas of the photo or selectively remove it from places on your image, click the paintbrush button to the right of the Fade slider. In the Paint palette that pops up, you’ll see both the Effect and Original buttons at the top. Clicking Effect and Reverse effect allows you to paint the texture exactly where you want it. Clicking Original lets you erase the texture from areas of your image. You can adjust your brush’s size, hardness, and strength with the sliders.
For this image, let’s set the brush size to 88, leave the Hardness at 0, and leave the Brush Strength at 100, then lightly brush over the grapes. We’re removing some of the Bokeh texture from only that area, so that the grapes will be the center of attention in our photo.
When you’re finished with your texture, click Apply and then save your image to your computer, share it, or stash it in Hub.

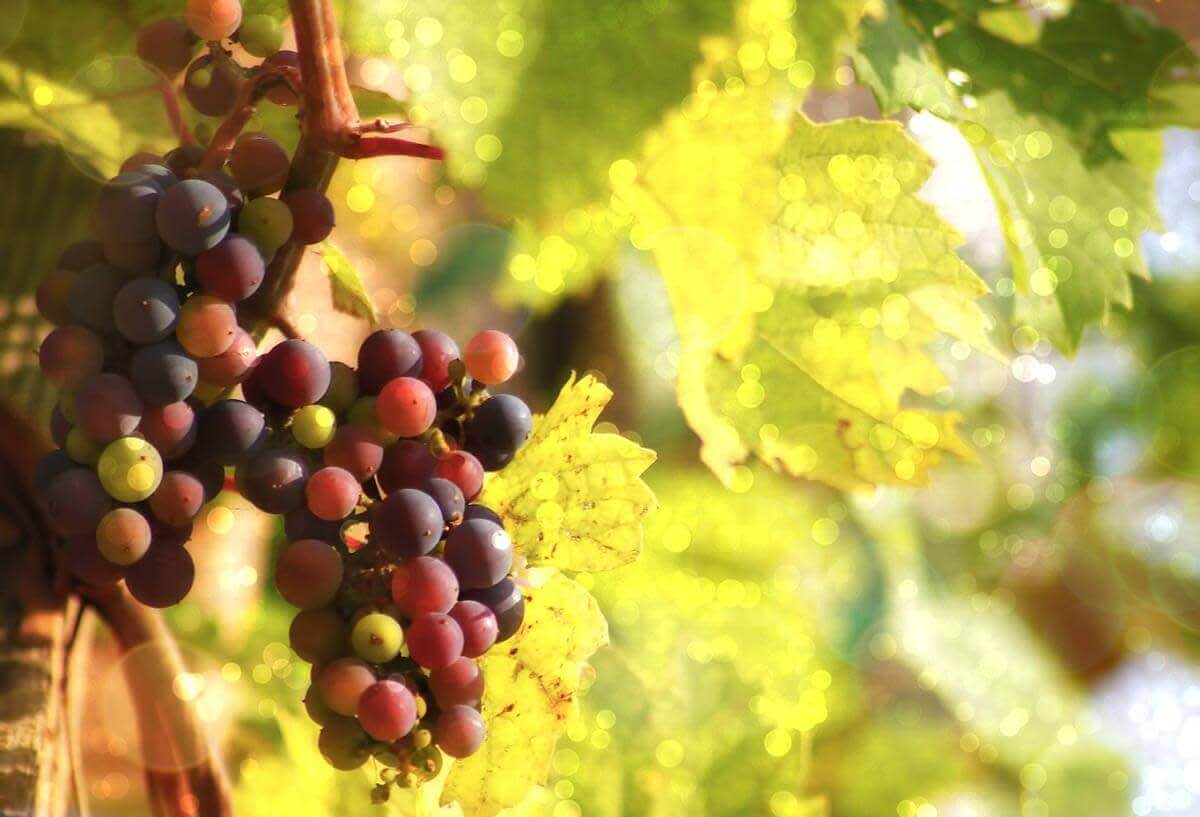
Here’s our final image! See how our creative editing enhanced its mood, making it feel more ethereal and dreamy? Think about the mood of your photo when you start editing, and have fun discovering ways to enhance it by getting creative with PicMonkey’s tools.
